UV Editor
UV mapping corresponds to a 2D unfolded map. For 3D objects, textures and colors can be applied using 2D coordinates called UVs.
You can perform this task by navigating to Editor -> UVEditor.
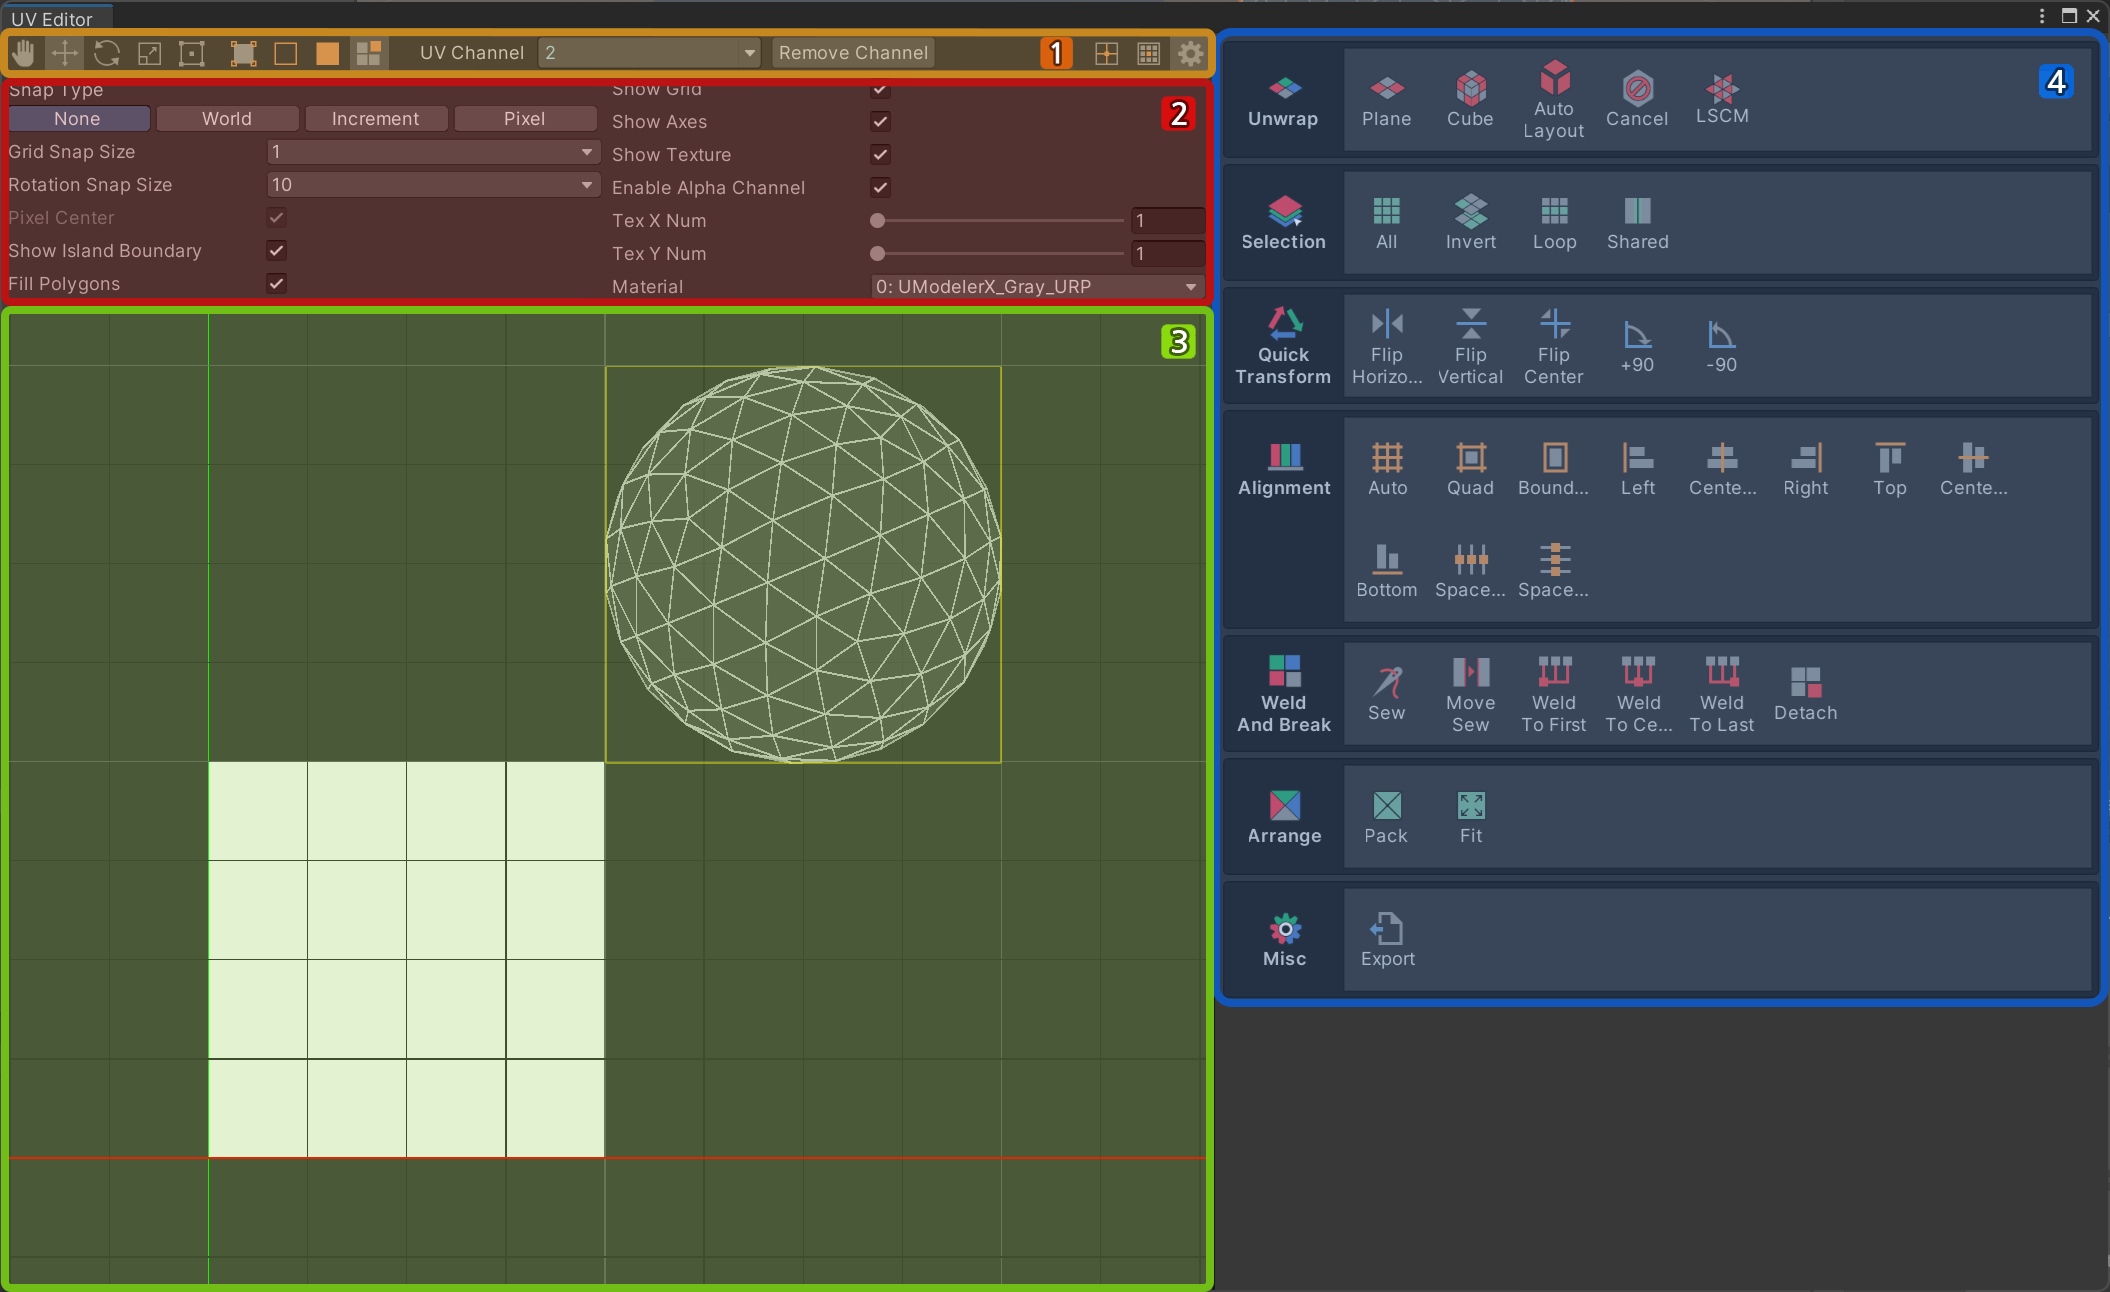
Top Menu Overview
The UV editor interface is quite similar to the scene view and shares similar shortcuts.
You can navigate the screen using the icons at the top or by using the spacebar, and you can move, rotate, and scale using the W, E, R keys, respectively.
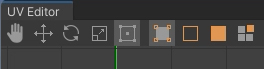
![]() You can also use the rectangle tool to adjust the position and size using rectangular corners.
You can also use the rectangle tool to adjust the position and size using rectangular corners.
![]() The icons on the side represent uv vertex, uv edge, uv face, and the last icon is for selecting connected uv elements.
The icons on the side represent uv vertex, uv edge, uv face, and the last icon is for selecting connected uv elements.
![]() The gear icon is for settings. Here, you can modify settings like snap and other UV editor configurations.
The gear icon is for settings. Here, you can modify settings like snap and other UV editor configurations.
The central window displays the UV values of the selected object. You can arrange the UVs in this window to work on textures.
Unwrap
![]()
Unwrap projects the 3D object onto a 2D plane. Select the faces of the 3D object and execute the necessary unwrap.
Plane
Plane is used for planar projection. You can project along each axis, toward the world axis direction, or toward the average normal direction of the faces.

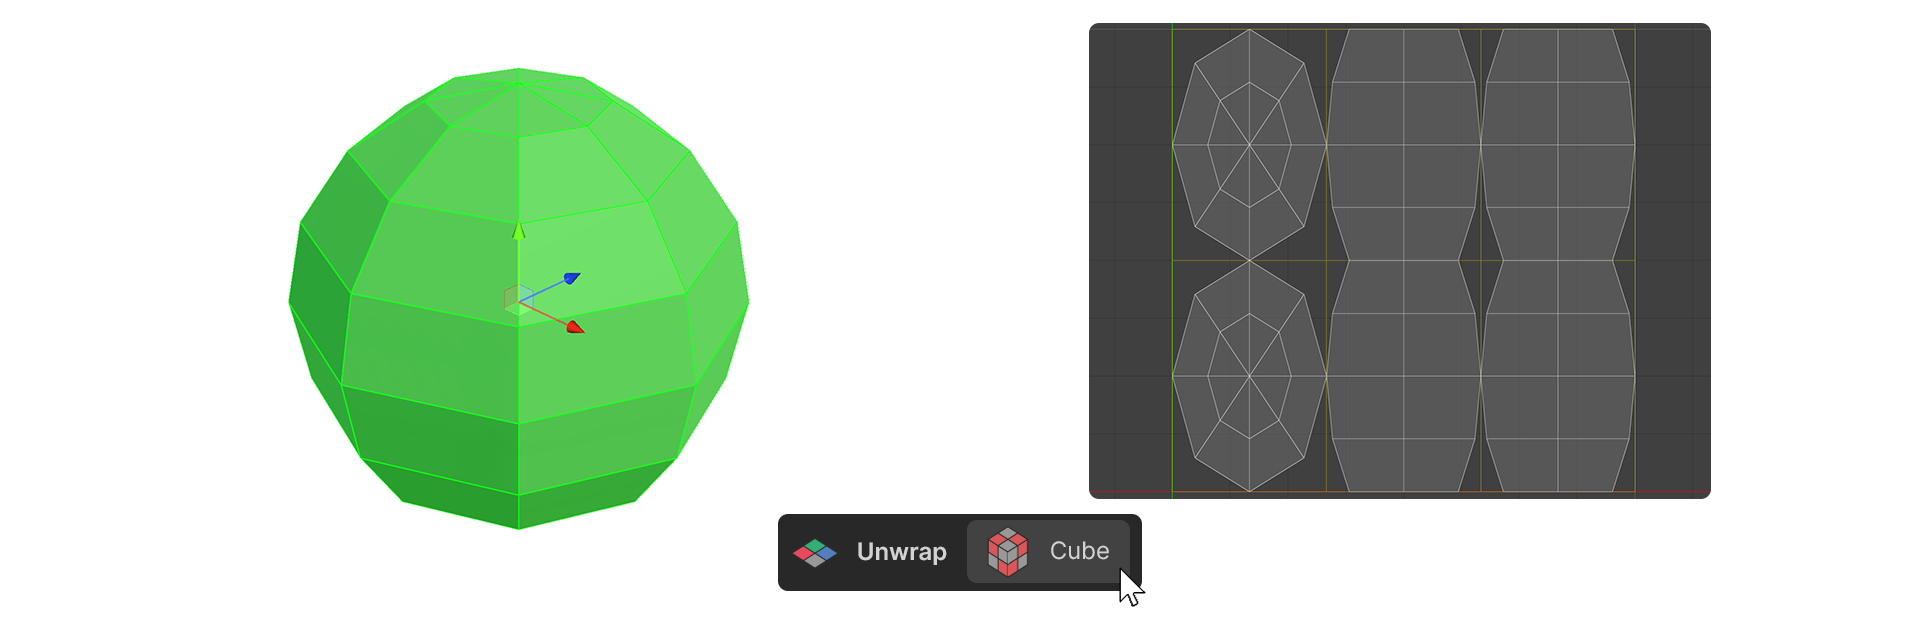
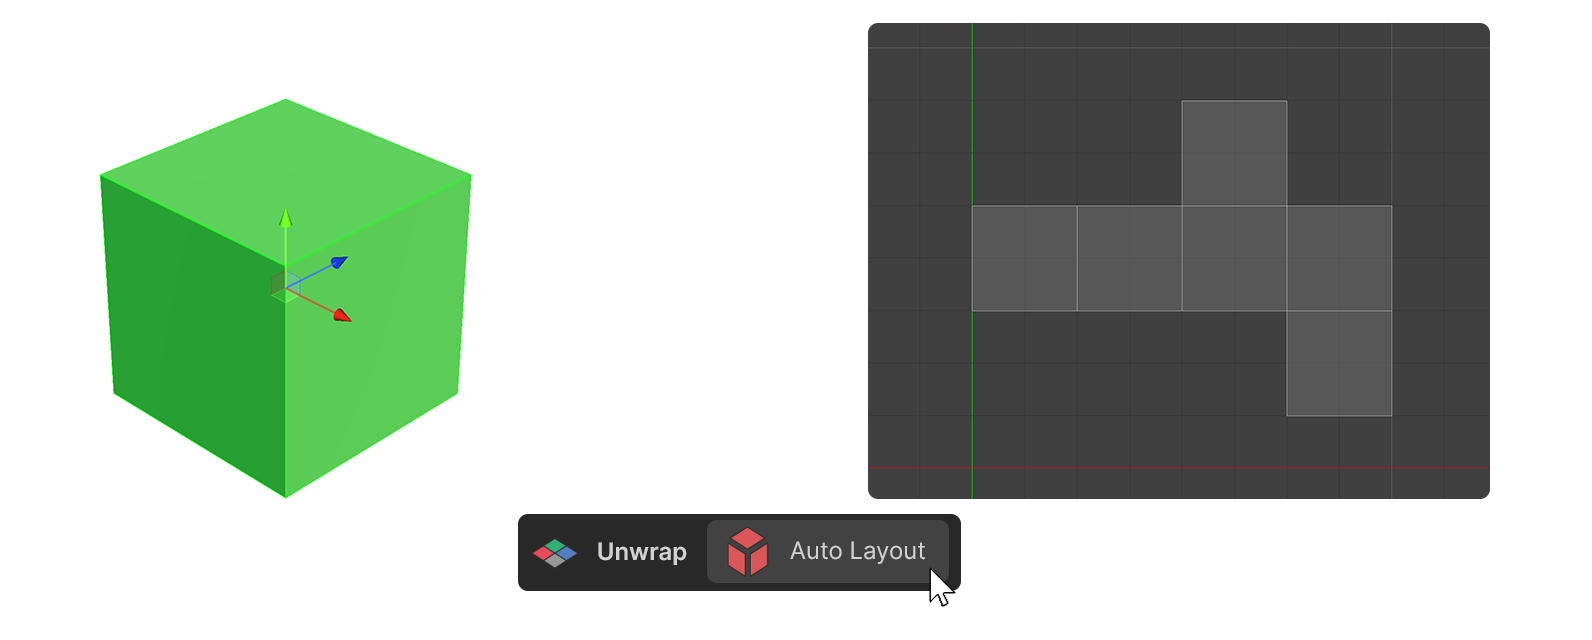
Cube
Cube unfolds UVs based on the direction the selected face is facing (x, y, z).
Auto Layout
Auto layout automatically unfolds selected faces.
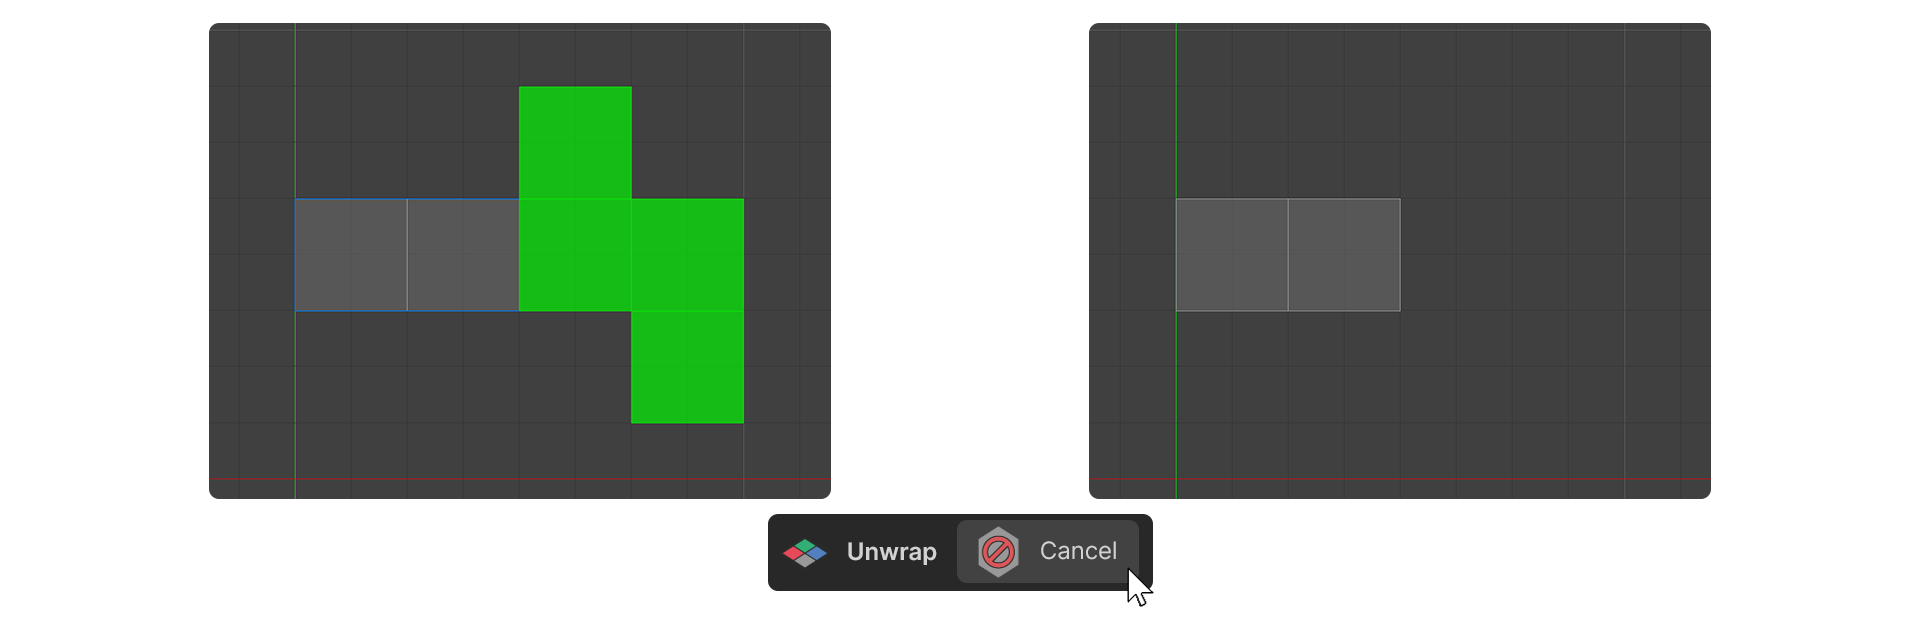
Cancel
Cancel resets the unfolded UVs.
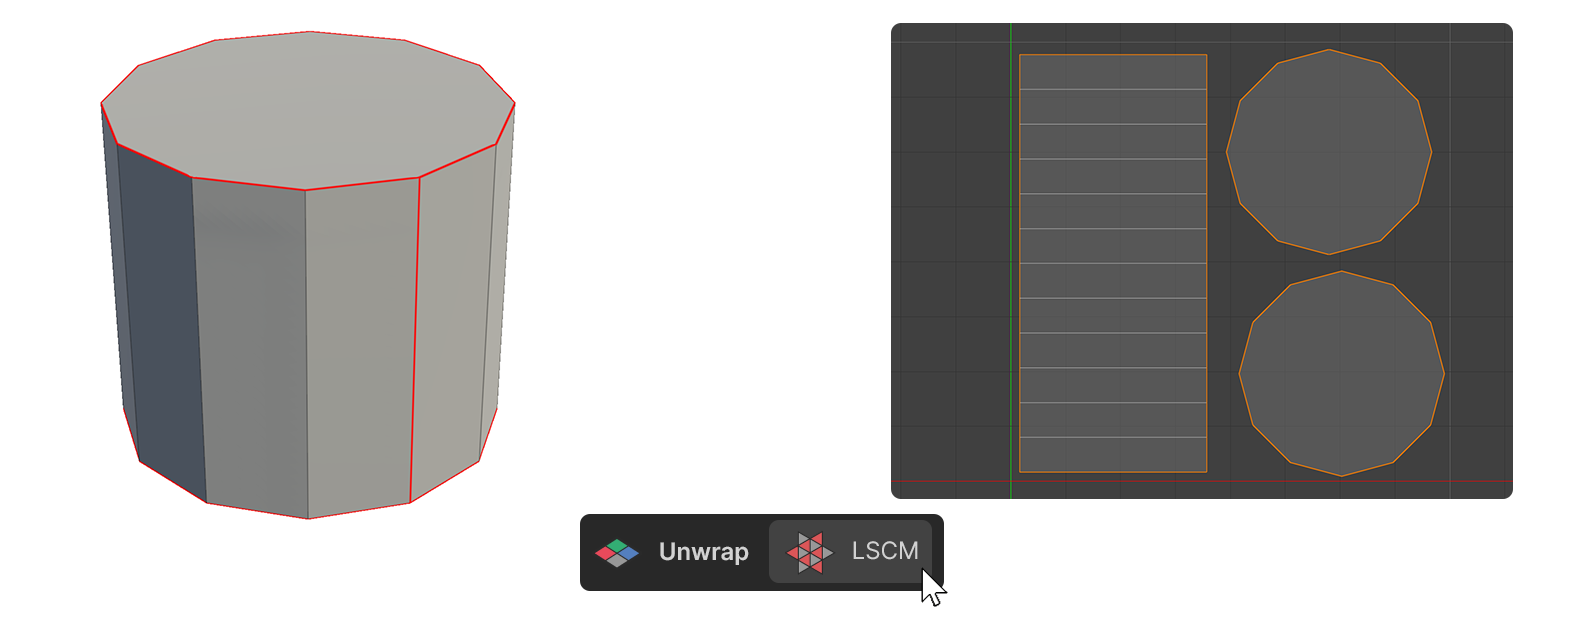
LSCM
LSCM cuts UV edges arbitrarily using the MARK UV Sceam and UNMARK UV Sceam tools in the modeling tool to unfold UVs along those cut edges.
Select the desired edge and click MARK UV Seam to create an orange line, indicating the UV seam. To remove the seam, select the edge again and click UNMARK UV Seam.
Using this method, select the face where you want the seams and then click LSCM. The UV will unfold based on these marked seams.
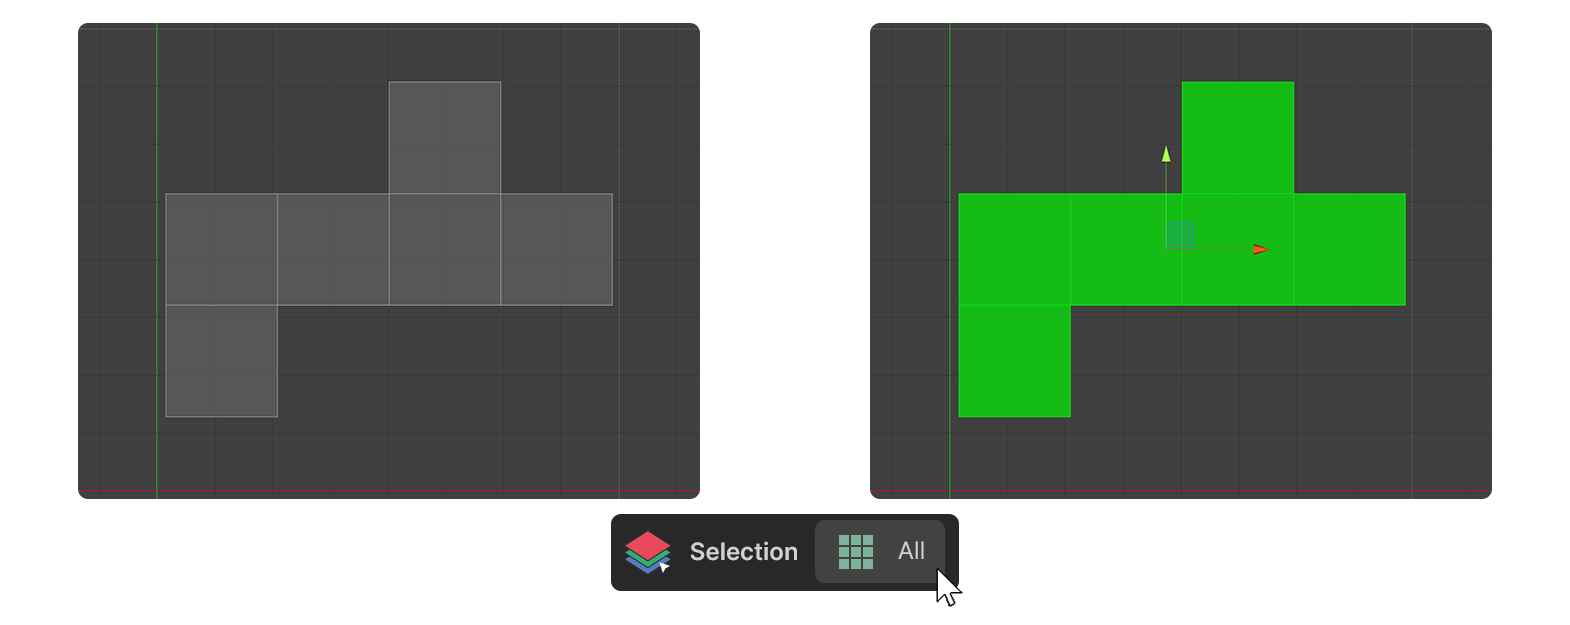
Selection
![]()
All
All selects all elements of the selected face.
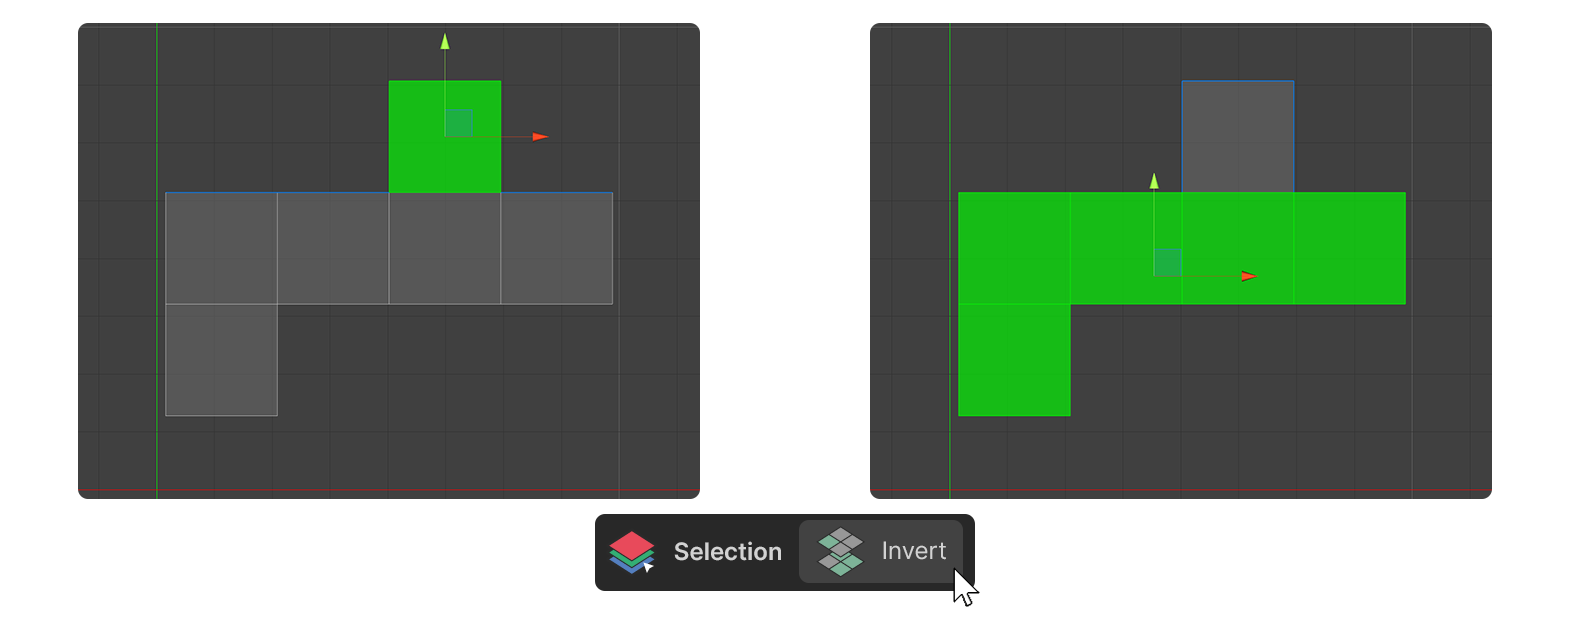
Invert
Invert reverses the selected area.
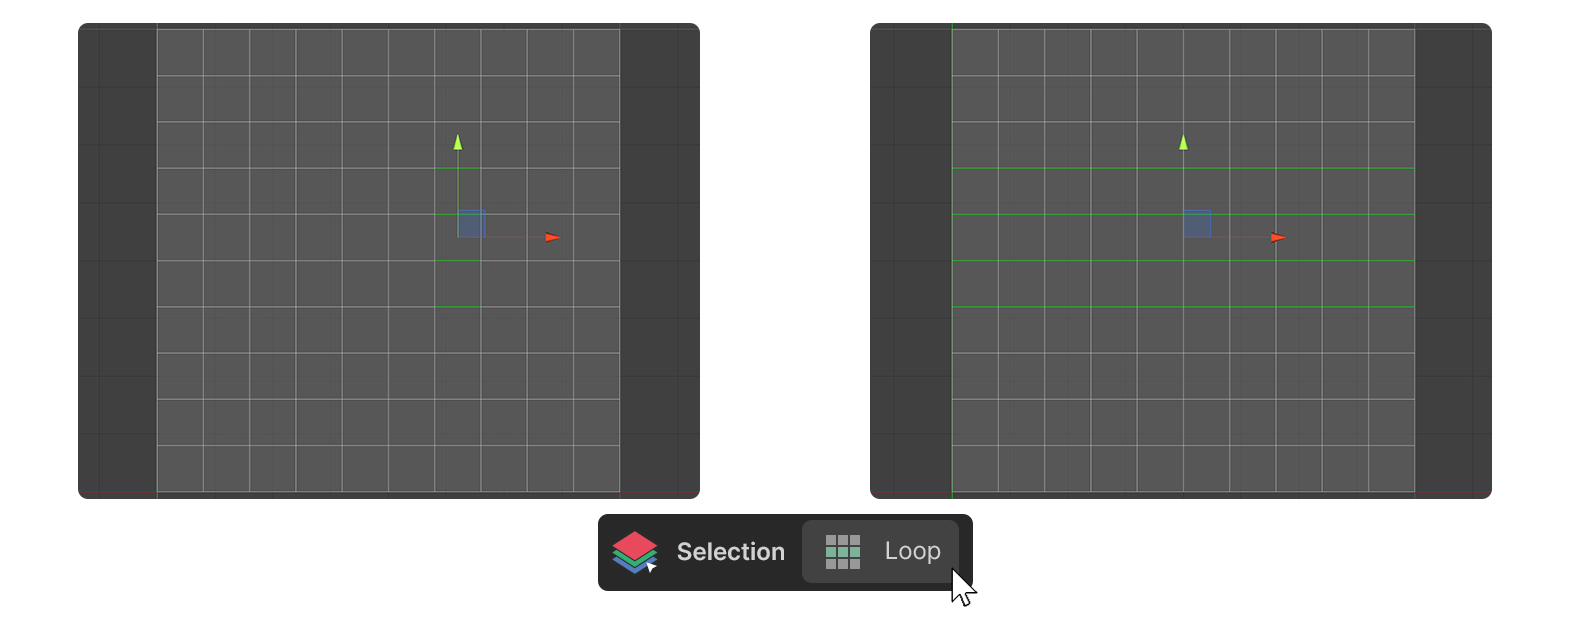
Loop
Loop selects connected edges to the selected edge.
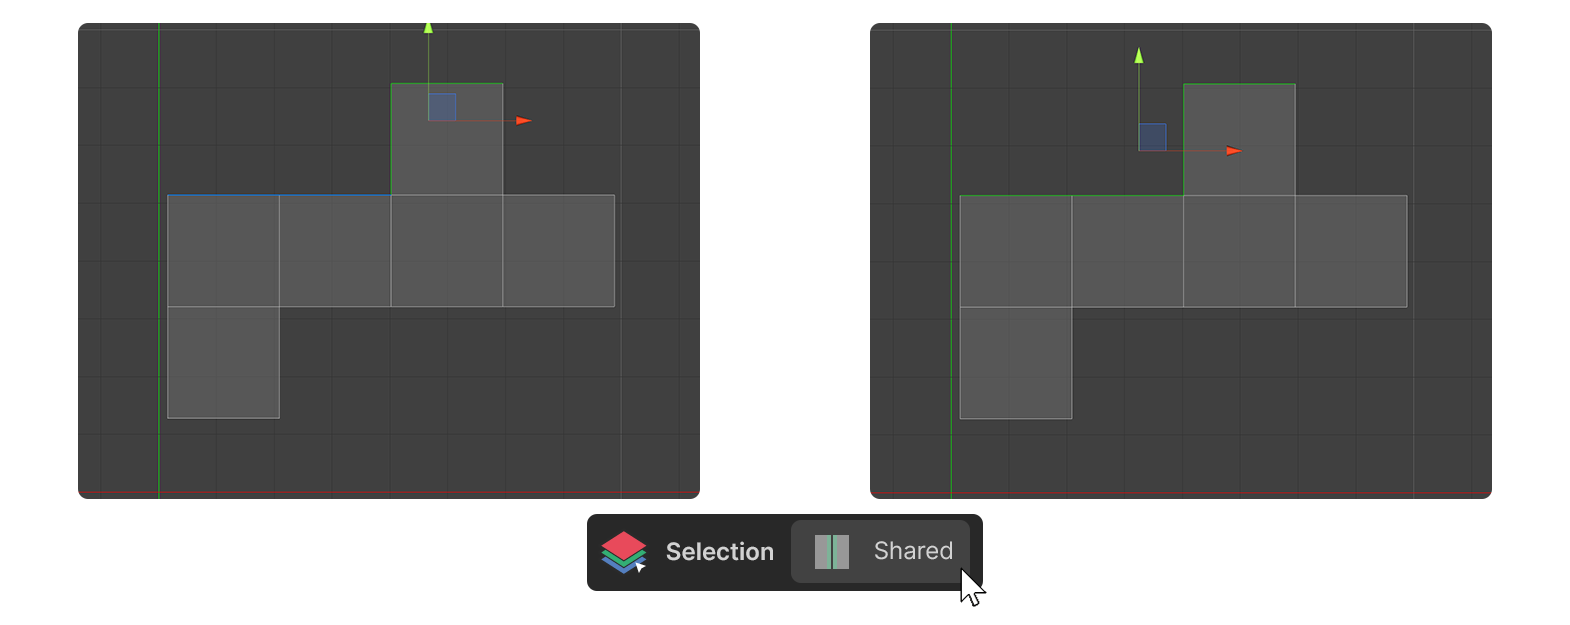
Shared
Shared selects UV elements that are separate in UV space but shared in 3D space.
Quick Transform
![]()
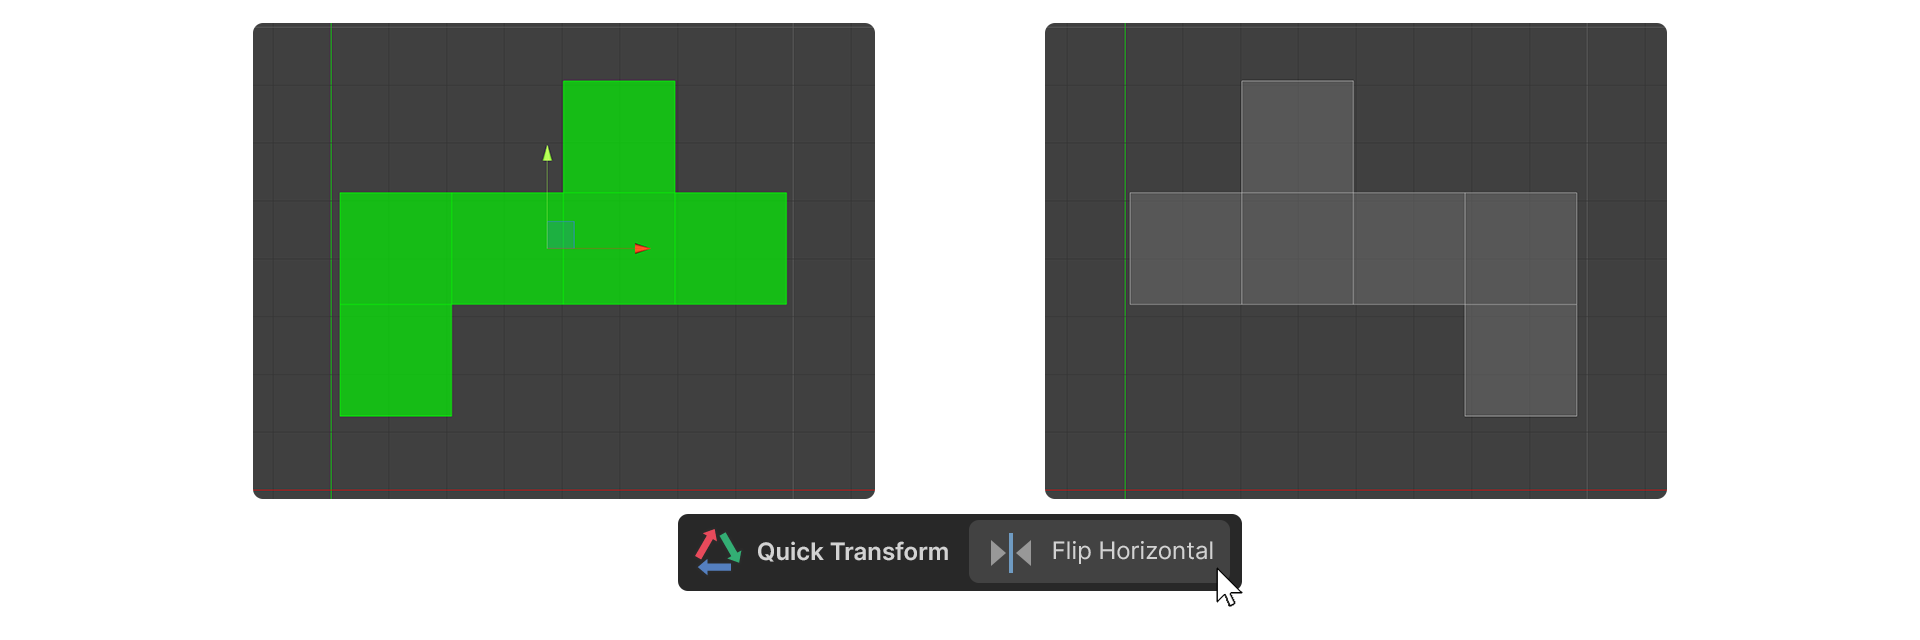
Flip Horizontal
Flip Horizontal flips the selected element horizontally.
Flip Vertical Tool
Flip Vertical flips the selected element Vertically.

Flip Center Tool
Flip Center flips the selected element both horizontally and vertically.

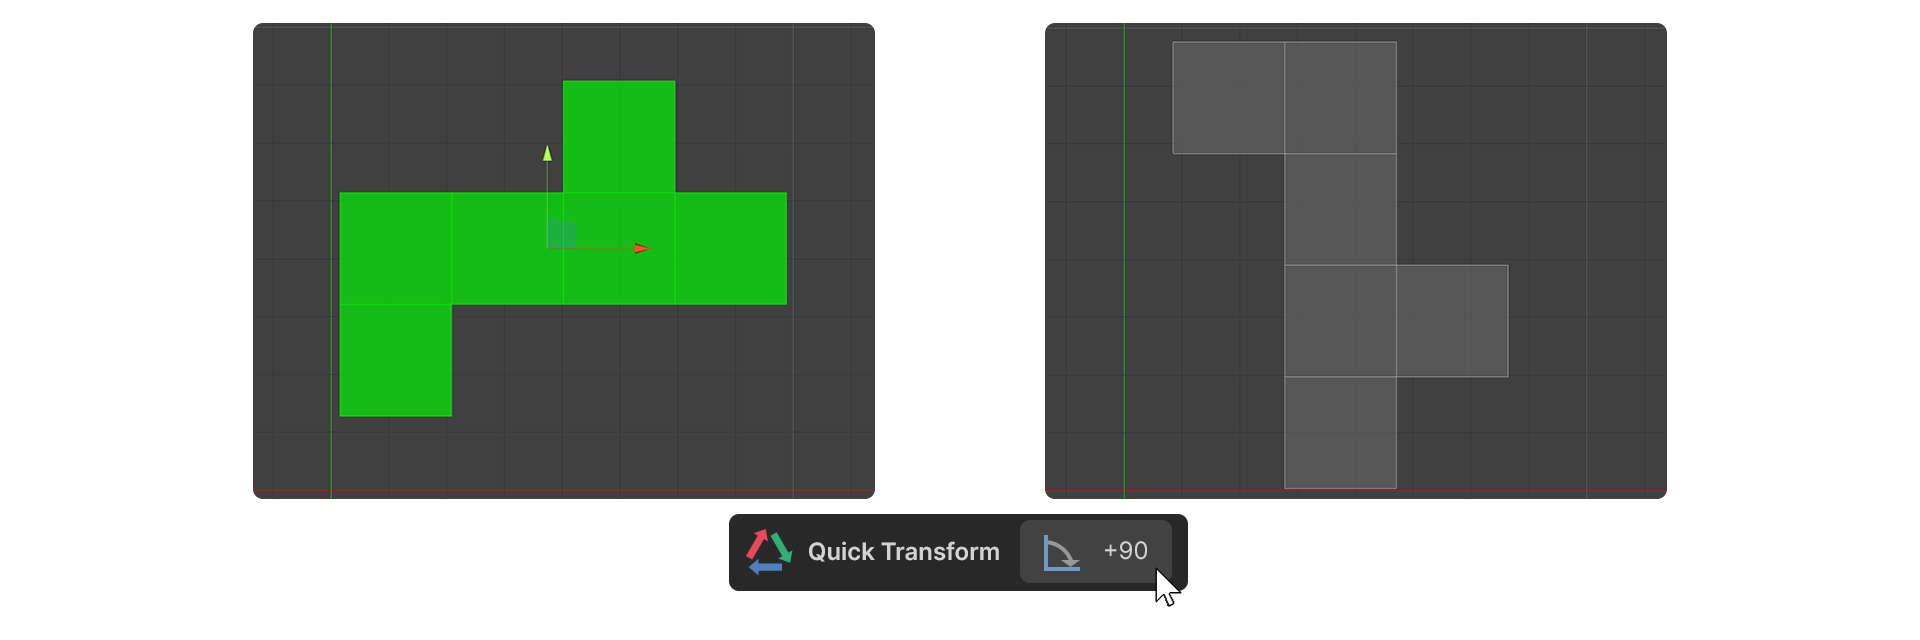
+90
+90 rotates the selected element by 90 degrees clockwise.
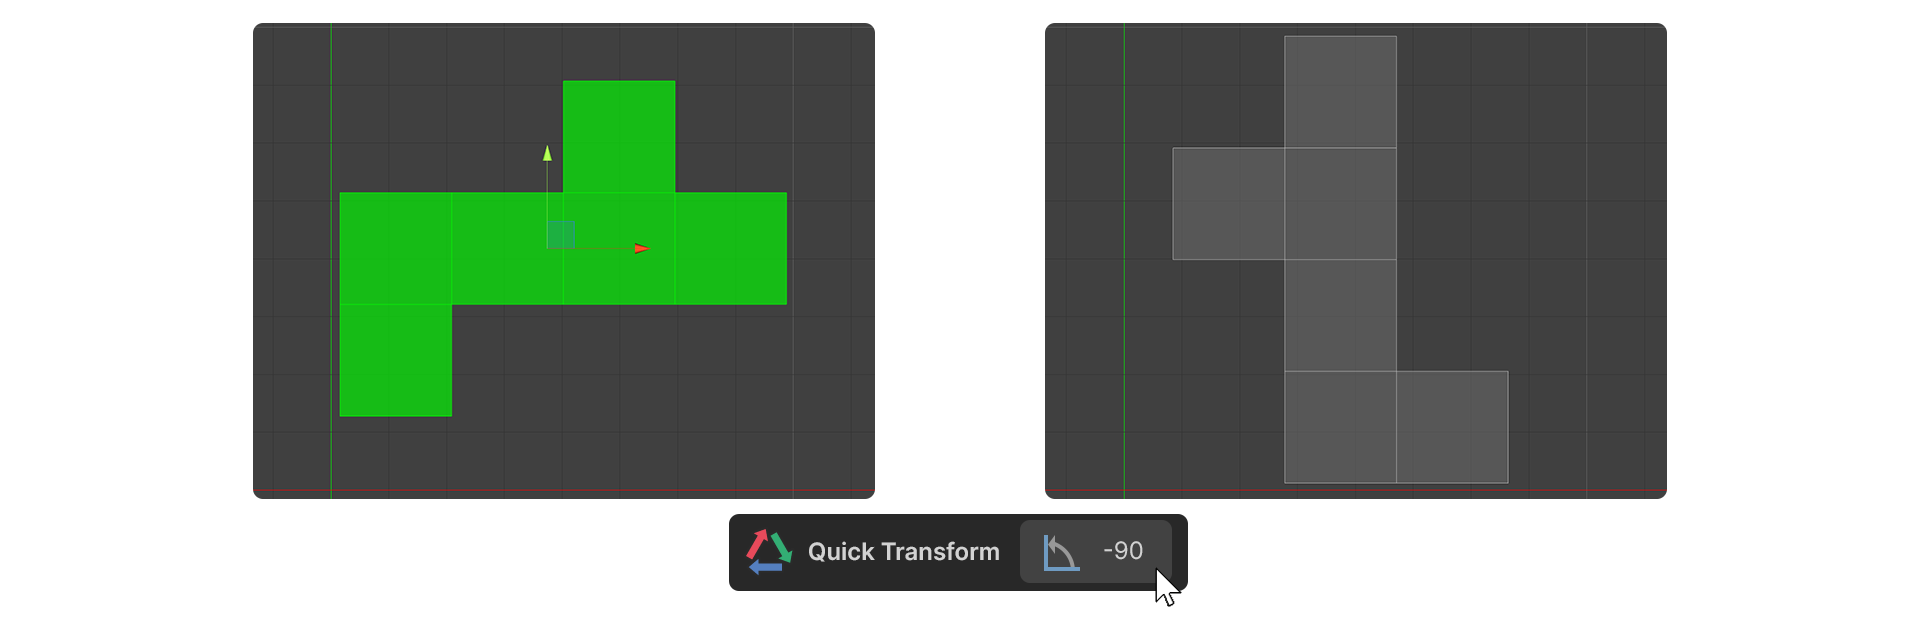
-90
-90 rotates the selected element by 90 degrees counterclockwise.
Alignment
![]()
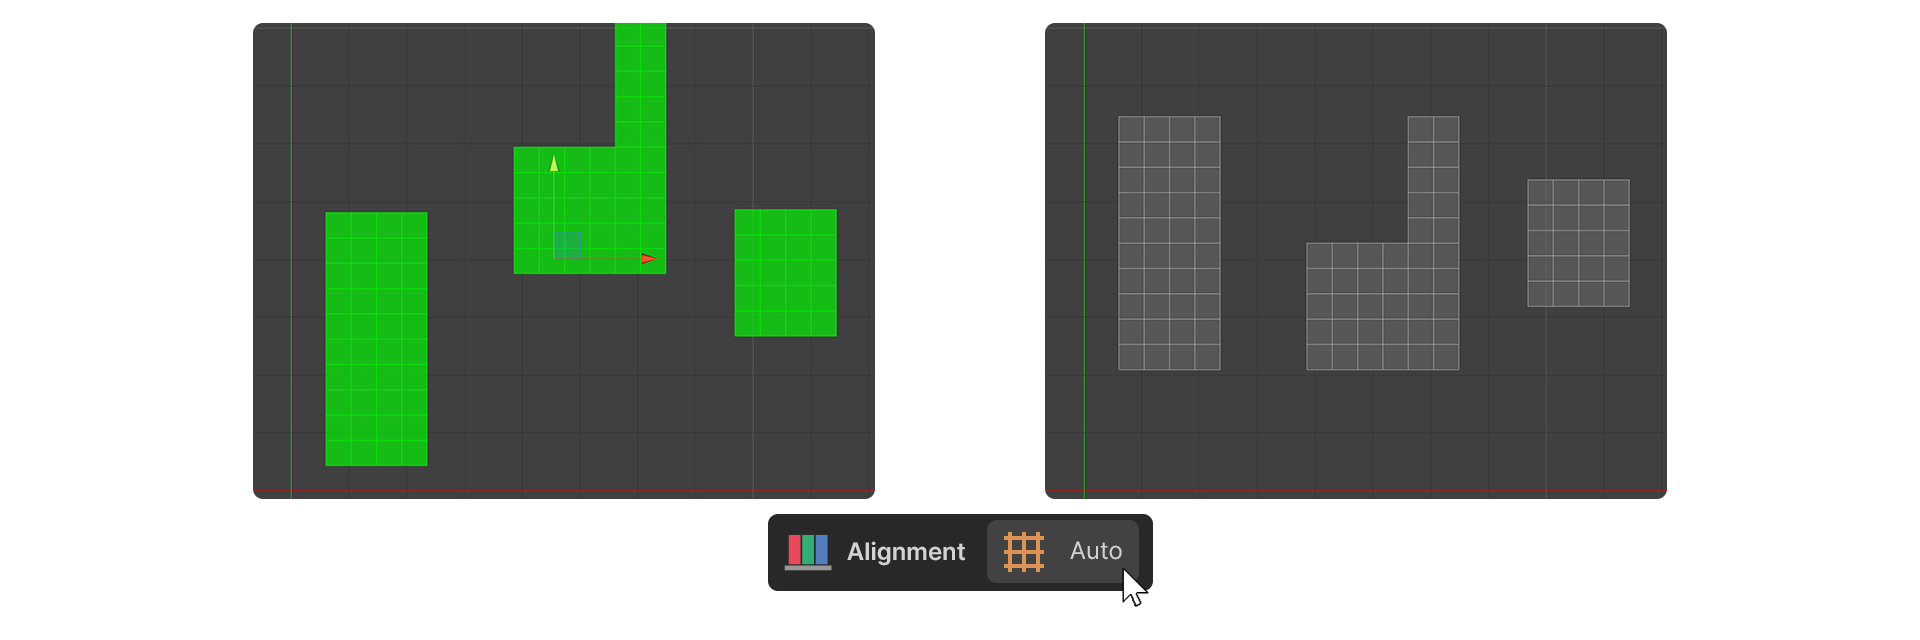
Auto
Auto aligns each element to the center.
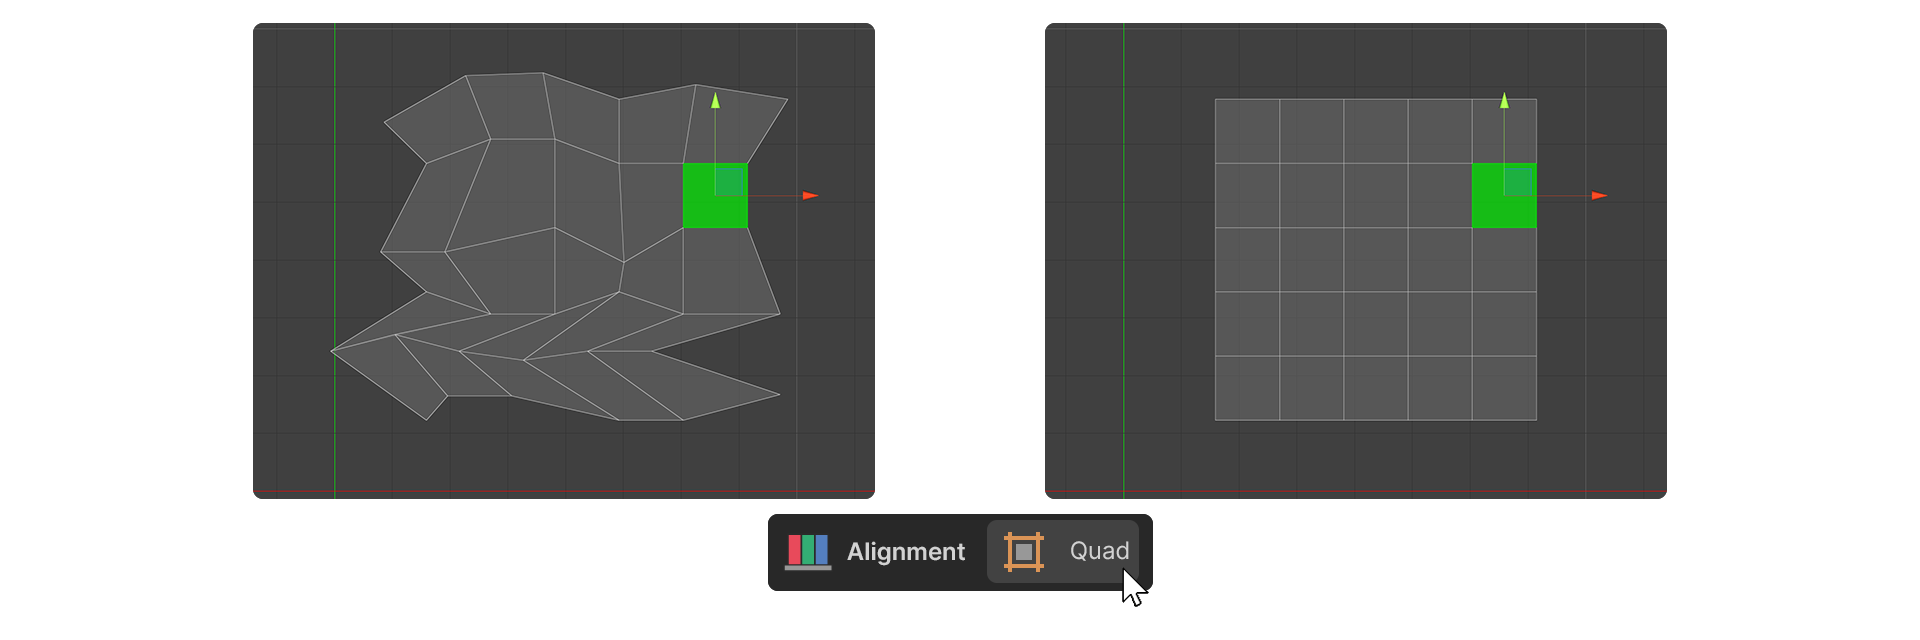
Quad
Quad unfolds the UVs into a rectangular shape.
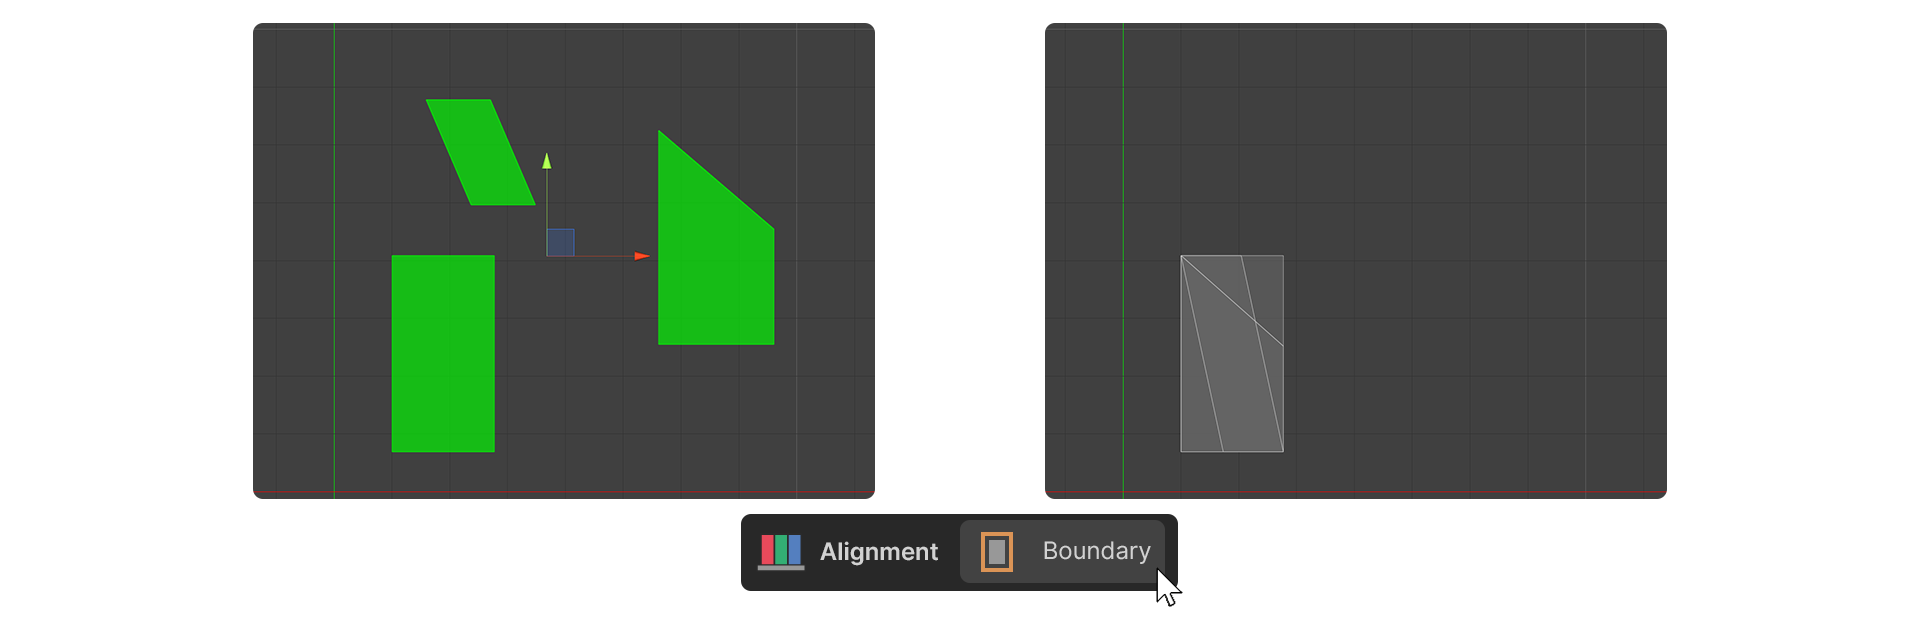
Boundary
Boundary aligns the outer edges and sizes of the last selected elements.
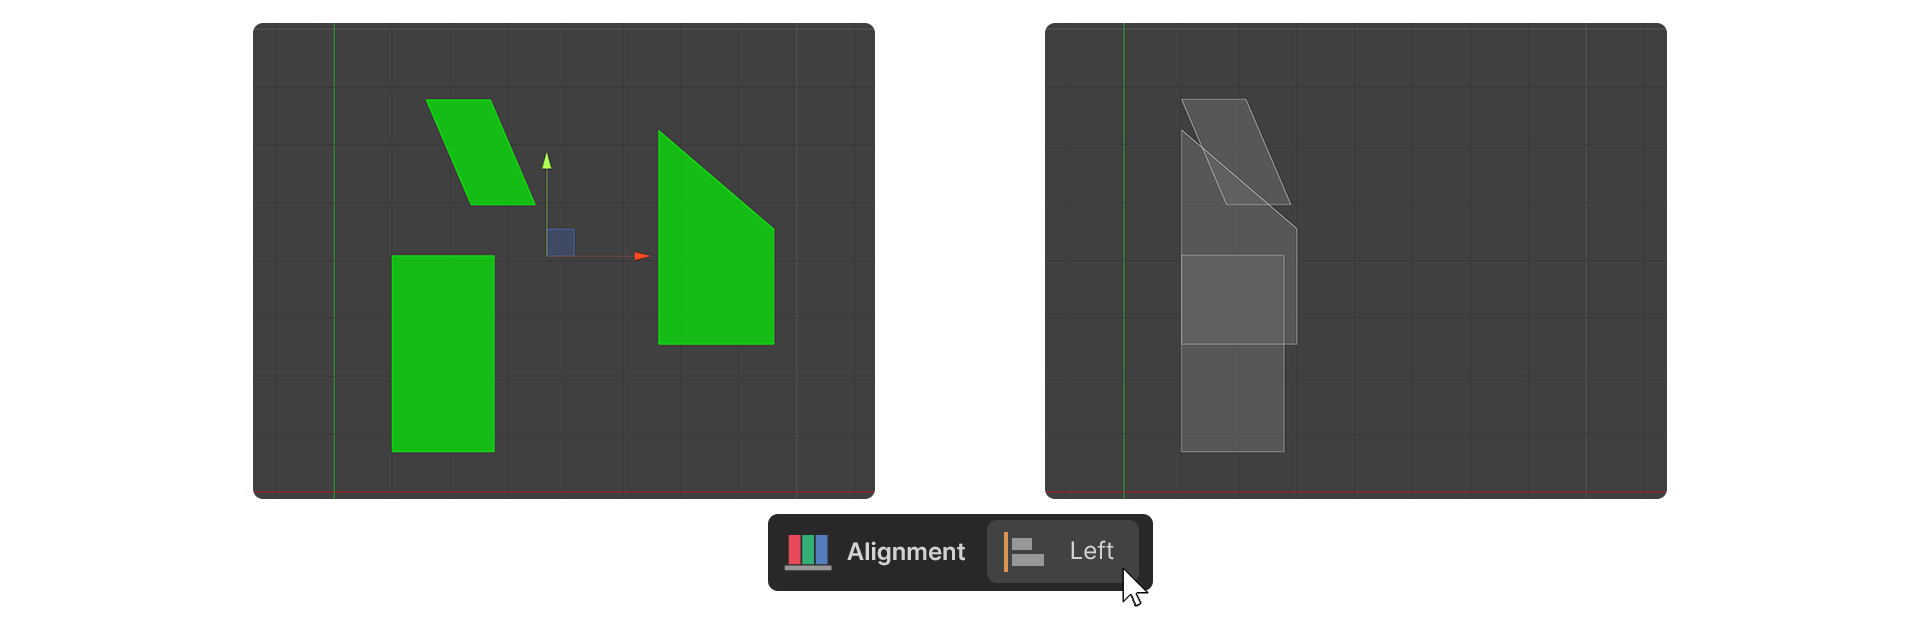
Left
The Left Tool in the UV Editor aligns selected UV elements to the left.
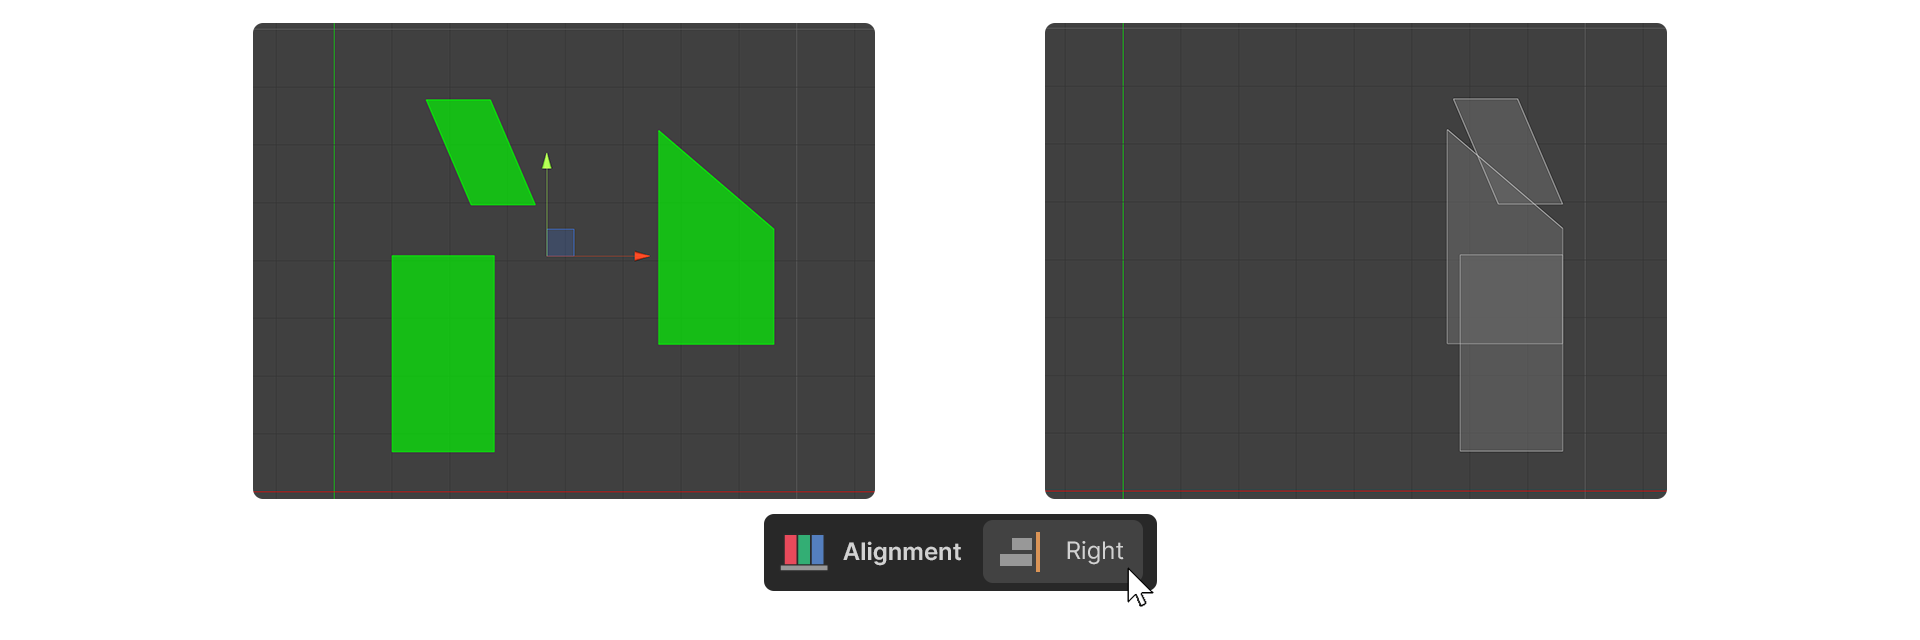
Right
The Right tool in the UV Editor aligns selected UV elements to the right.
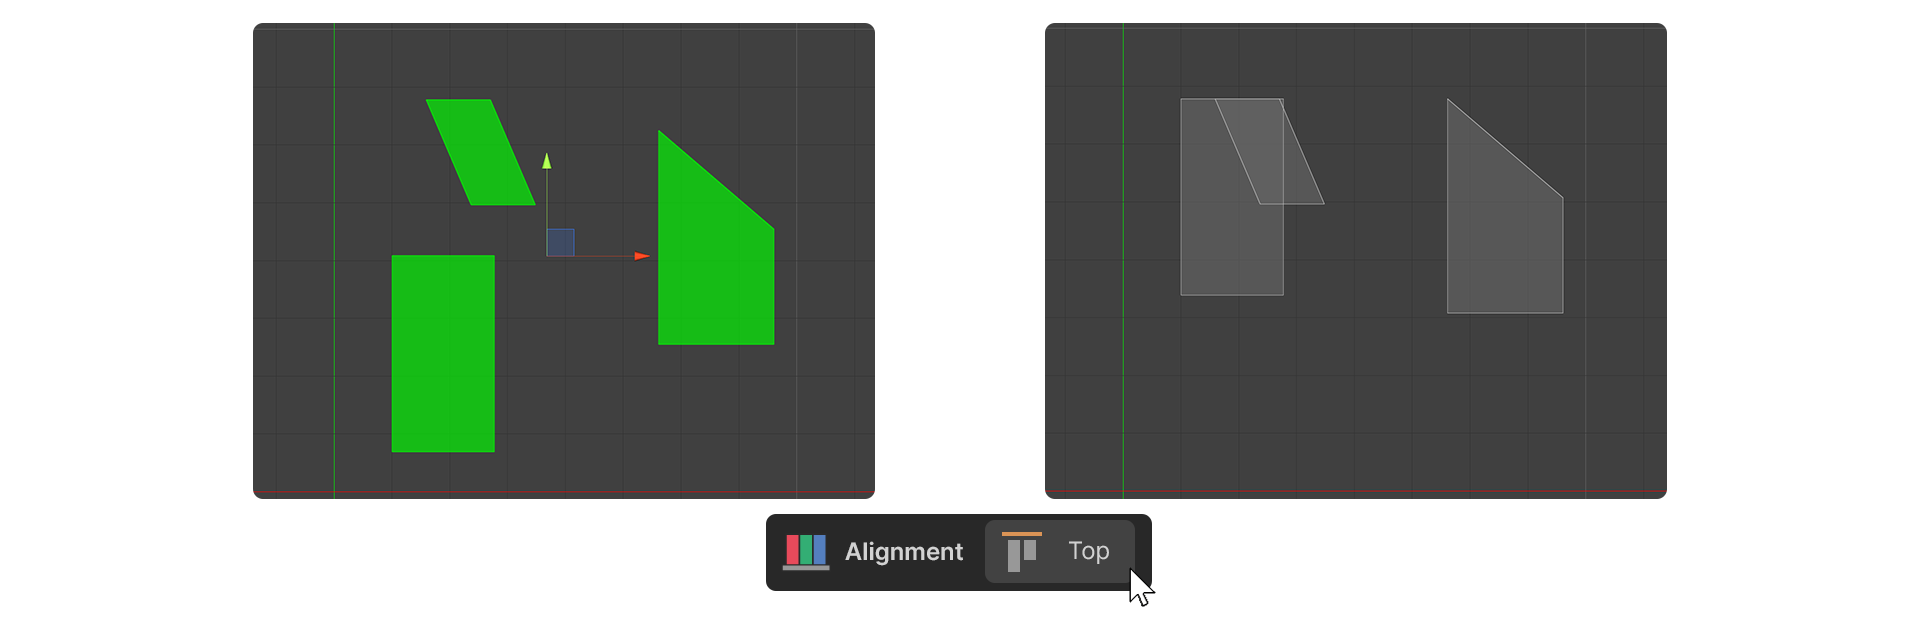
Top
The Top Tool in the UV Editor is a tool that aligns selected UV elements upward.
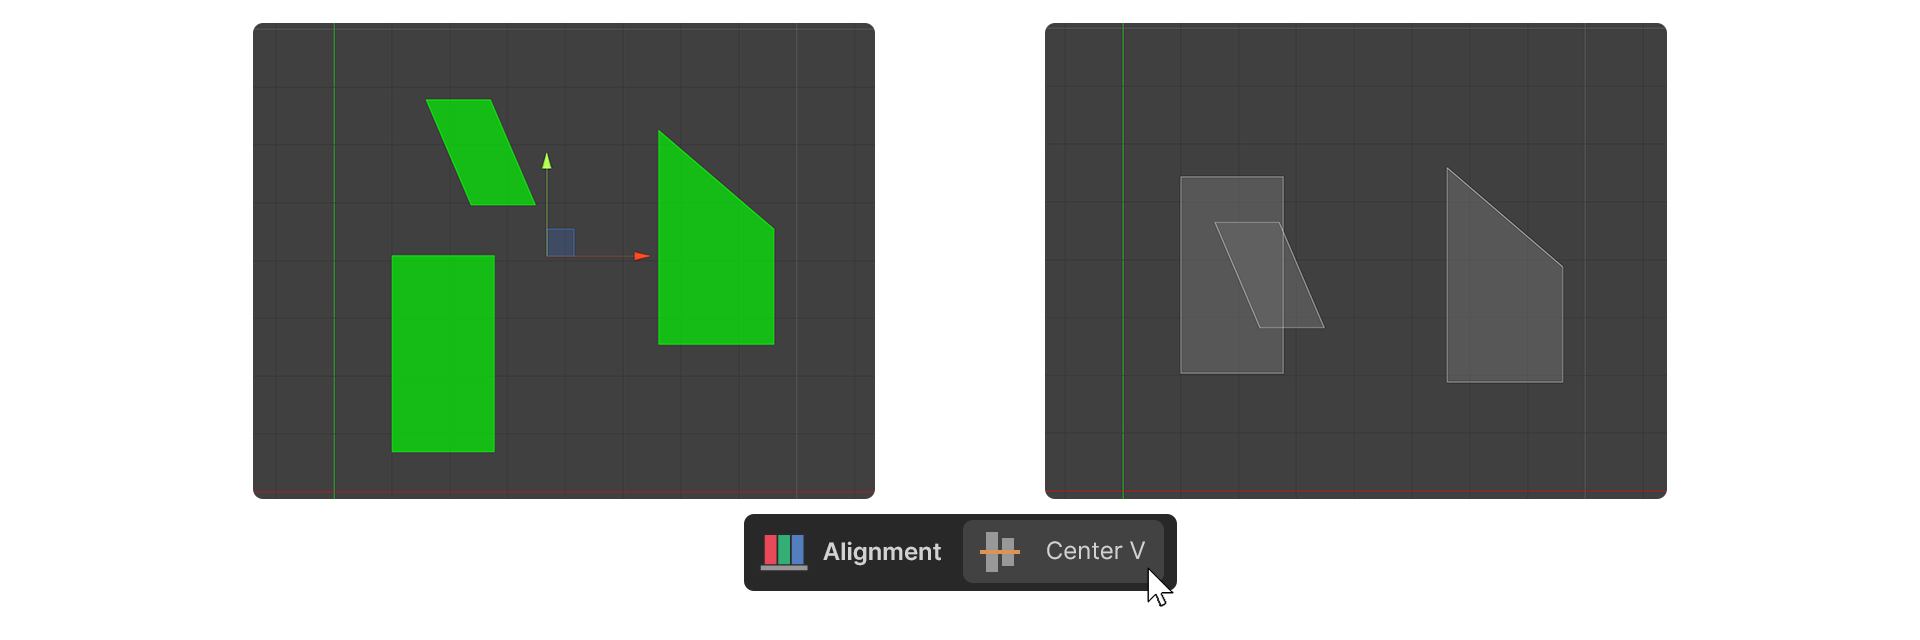
Center V
The Center V tool in the UV Editor is a tool to align selected UV elements around a vertical center.
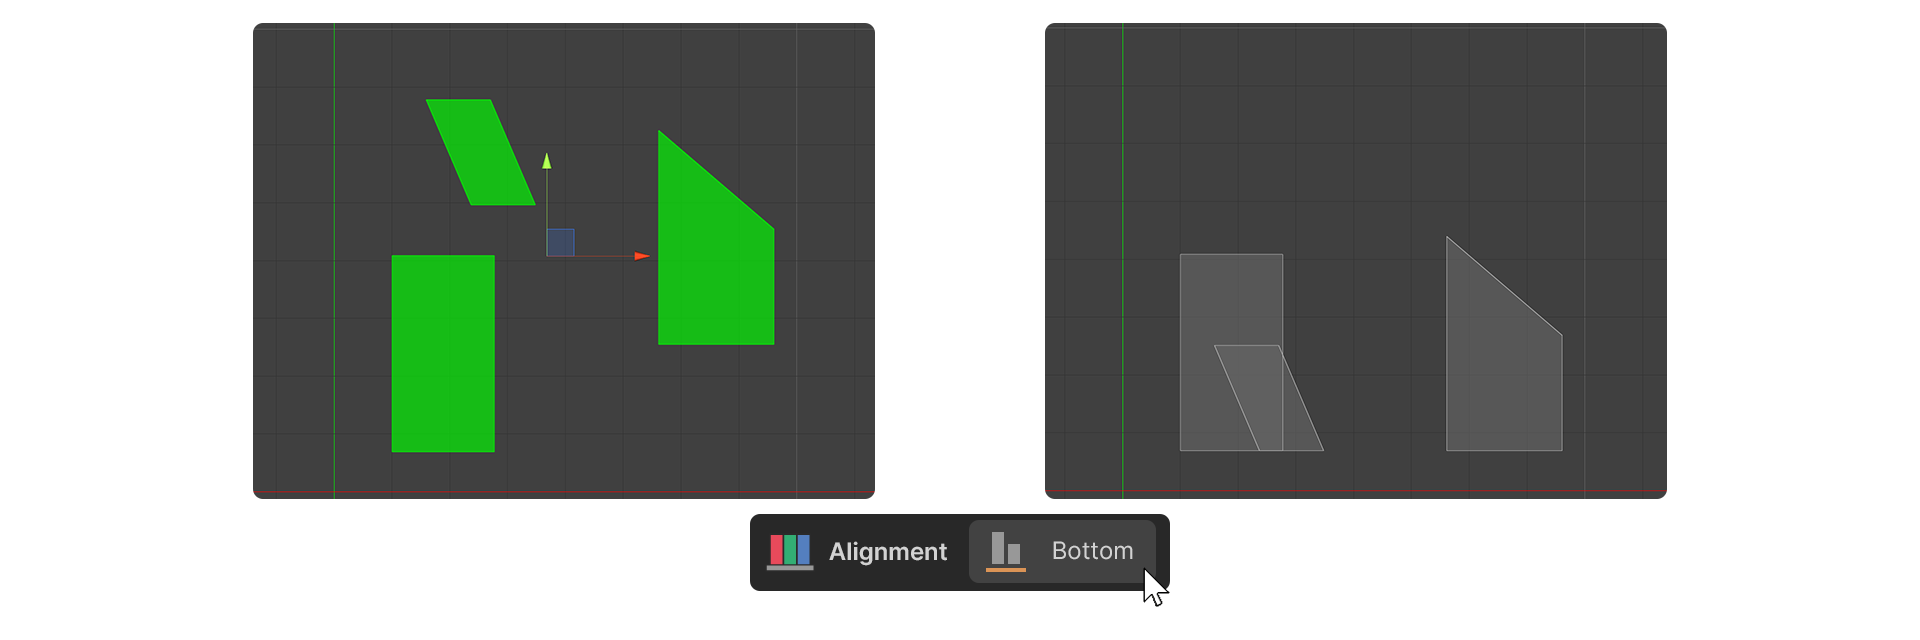
Bottom
The Bottom Tool in the UV Editor aligns selected UV elements downward.
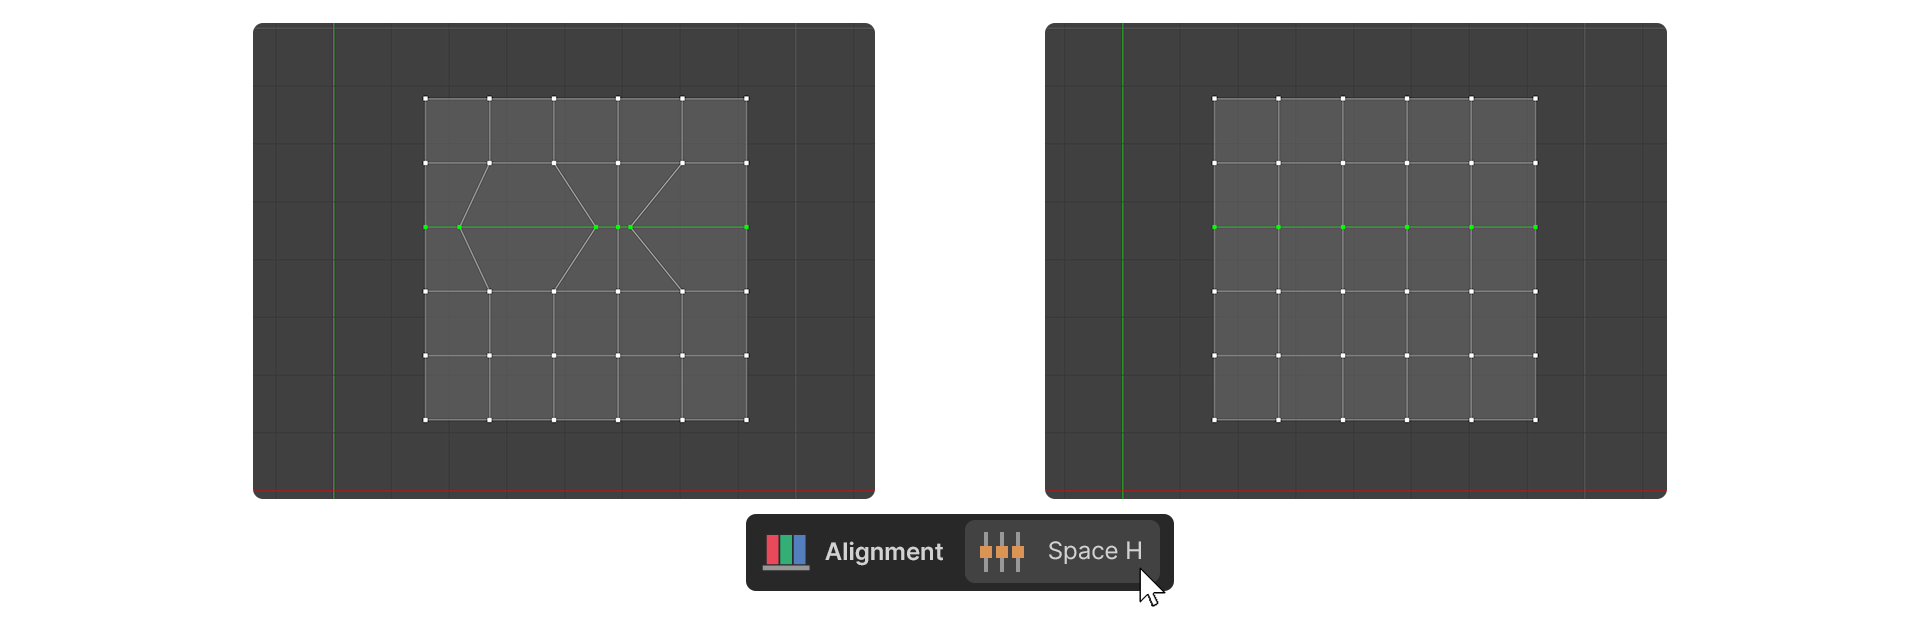
Space H
The Space H tool in the UV Editor is a tool that will horizontally align selected UV vertices to be equally spaced.
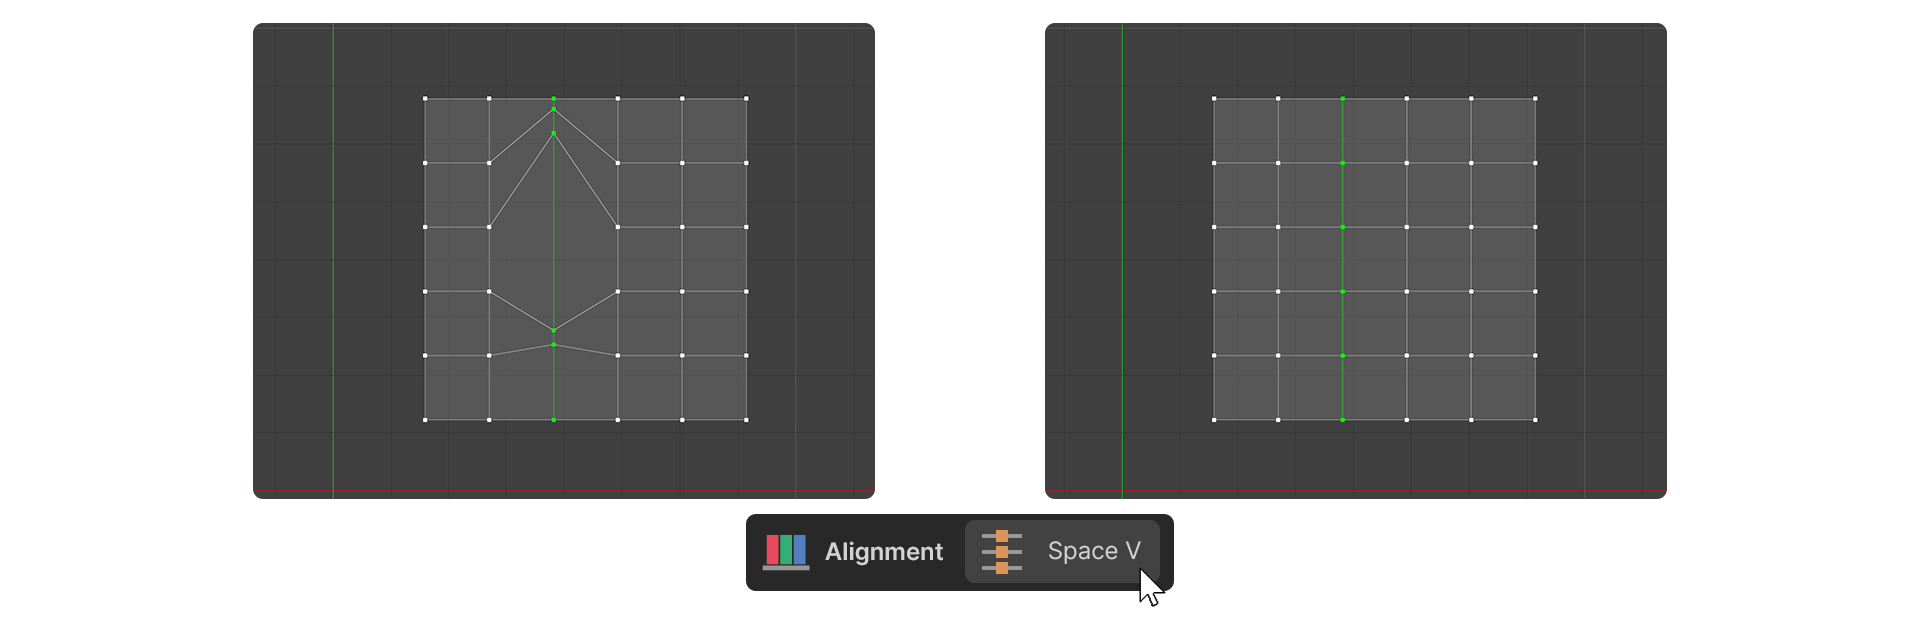
Space V
The Space V Tool in the UV Editor is a tool that will vertically align selected UV vertices to be equally spaced.
Weld And Break
![]()
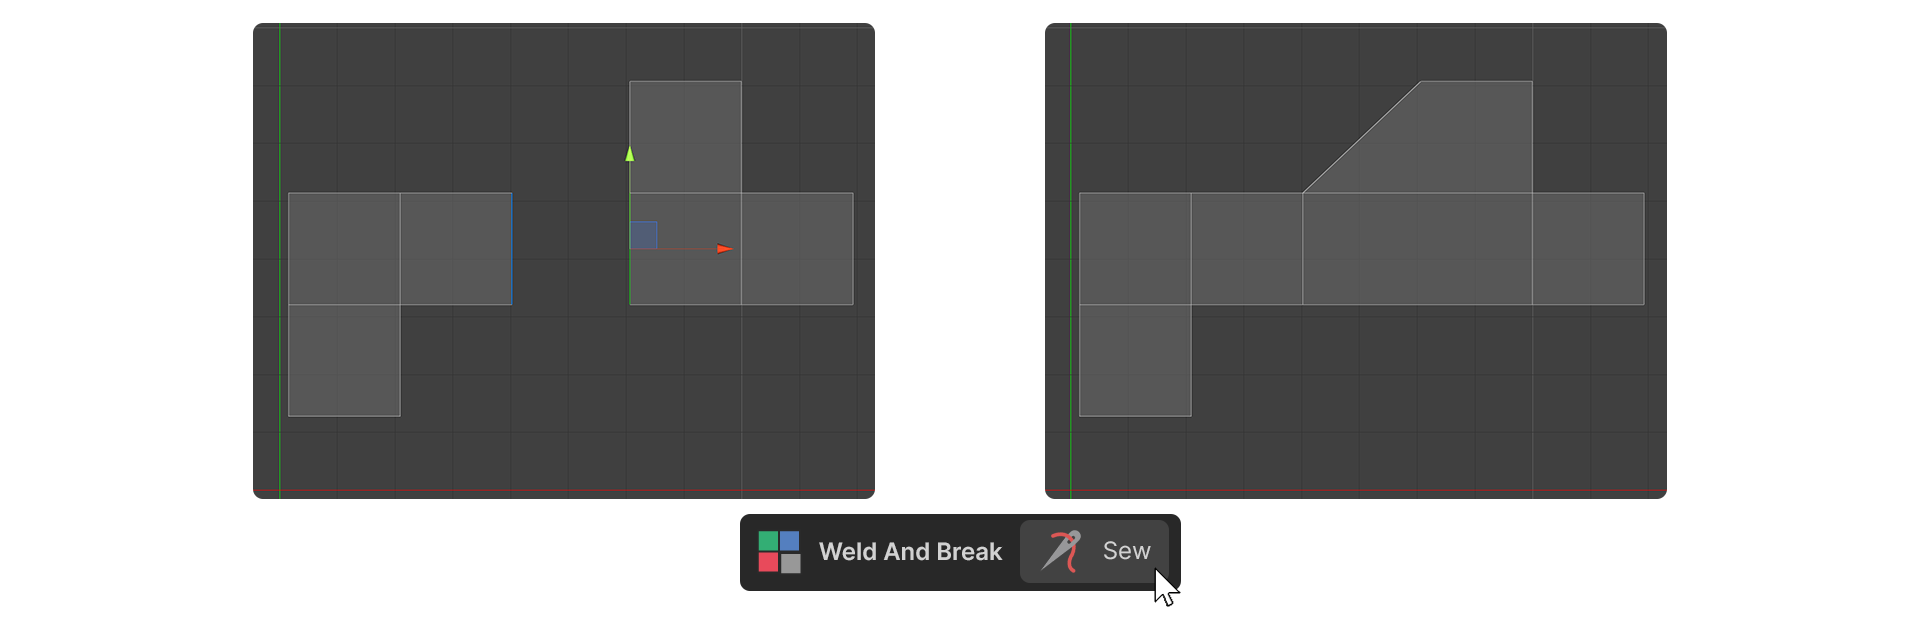
Sew
The sew tool attaches shared UV edges in the UV editor. Select shared edges or use the shared tool to select, and then use sew to merge them.
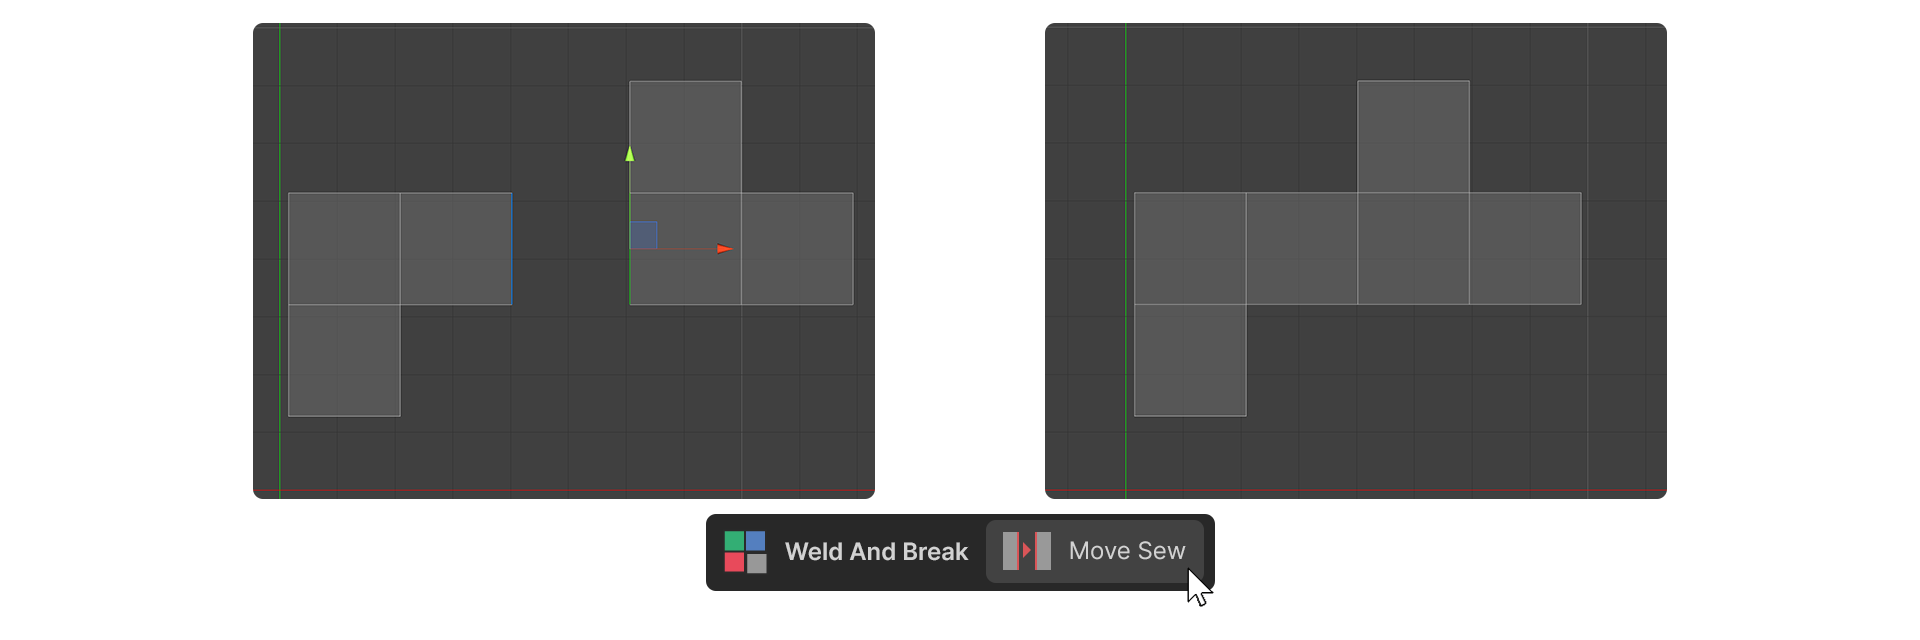
Move Sew
The move sew tool is similar but also moves connected elements when shared edges are merged.
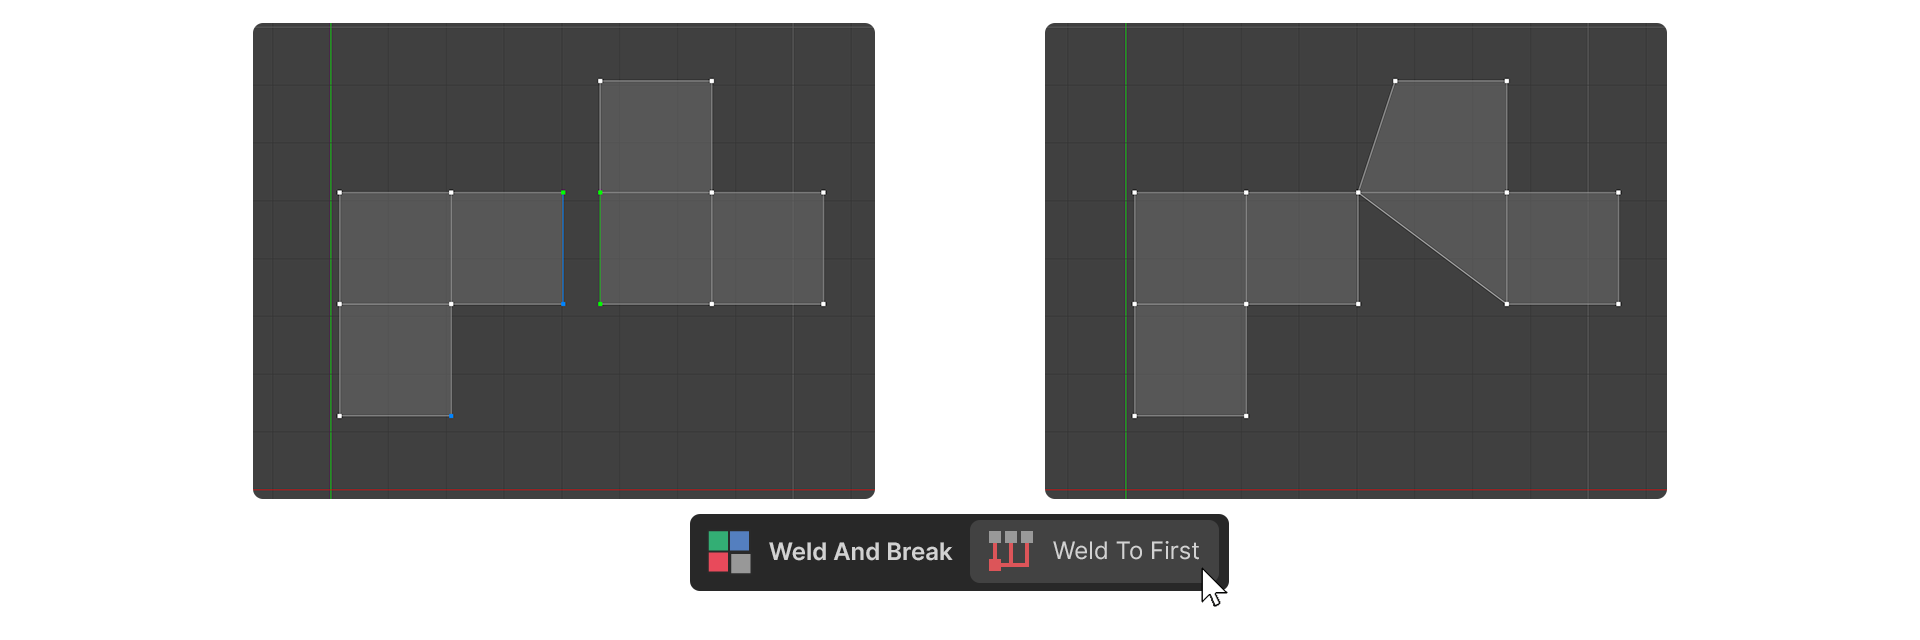
The weld tool merges UV vertices.
Weld To First
Weld to first merges to the position of the initially selected vertex.
Weld To Center
Weld to center merges to the middle position of the selected vertices.

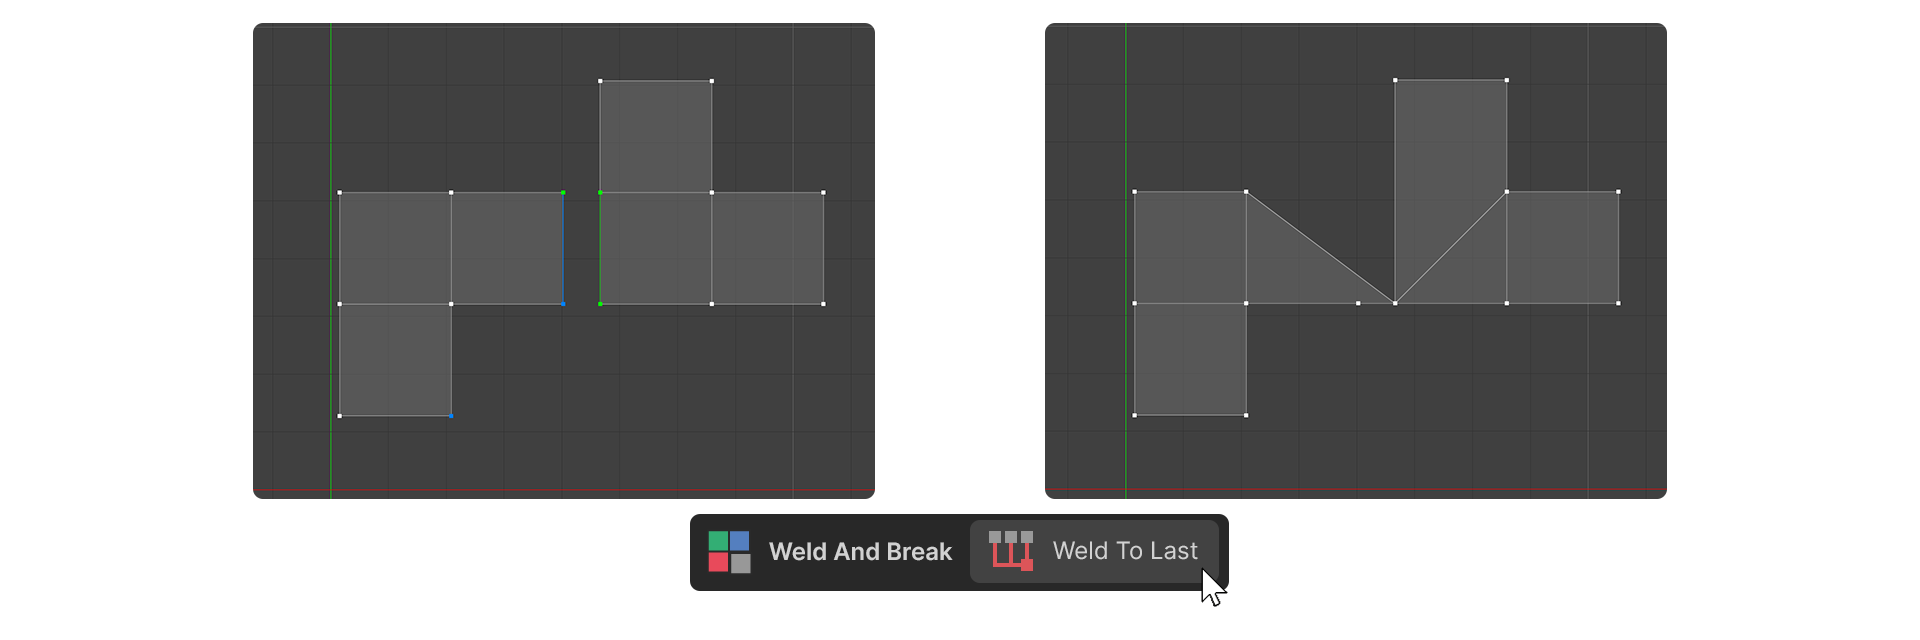
Weld To Last
Weld to last merges to the position of the last selected vertex.
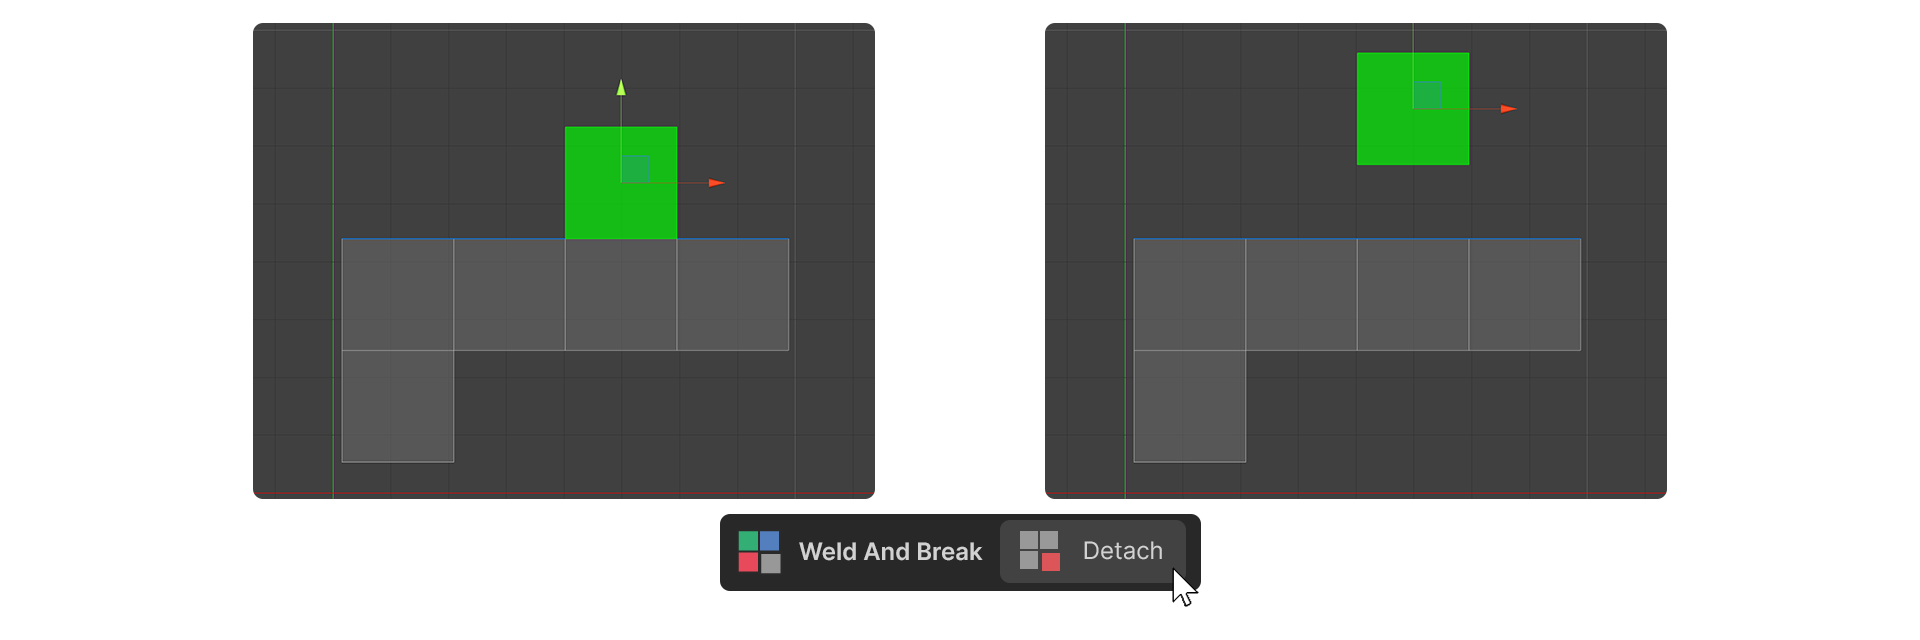
Detach
Detach tool separates selected faces from connected UV elements.
Arrange
![]()
The arrange group function arranges UV elements uniformly in the texture space.
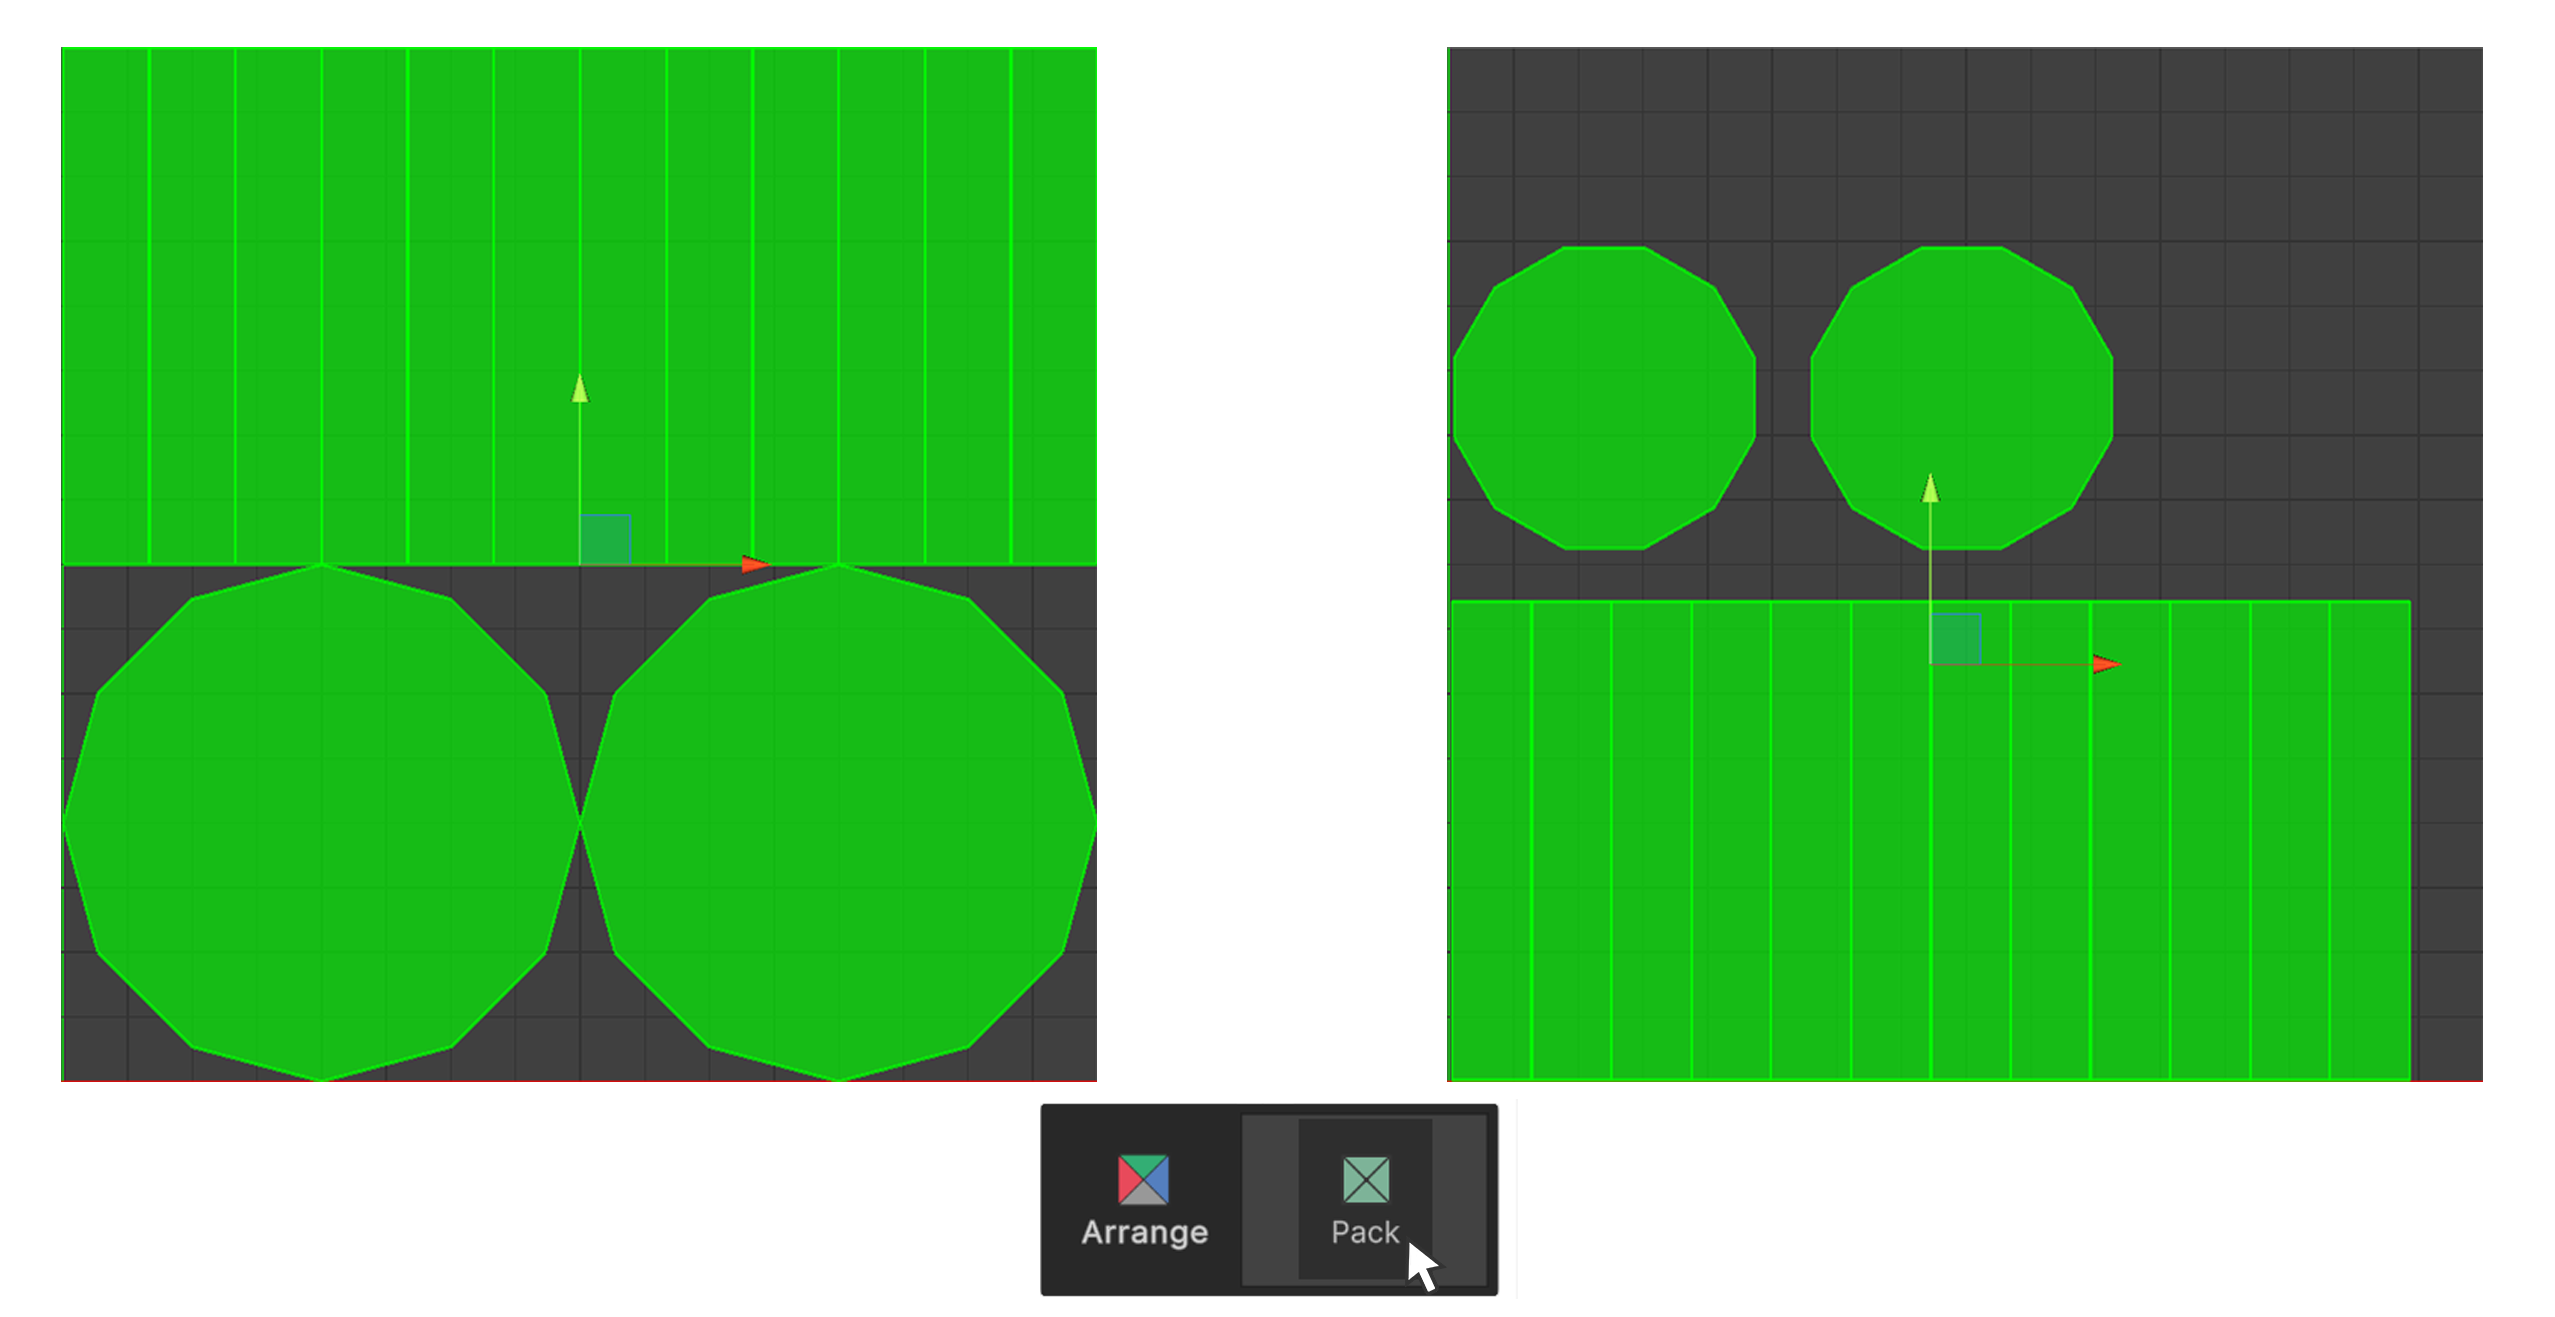
Pack
Pack places UVs in the texture space without overlapping and fills empty spaces.
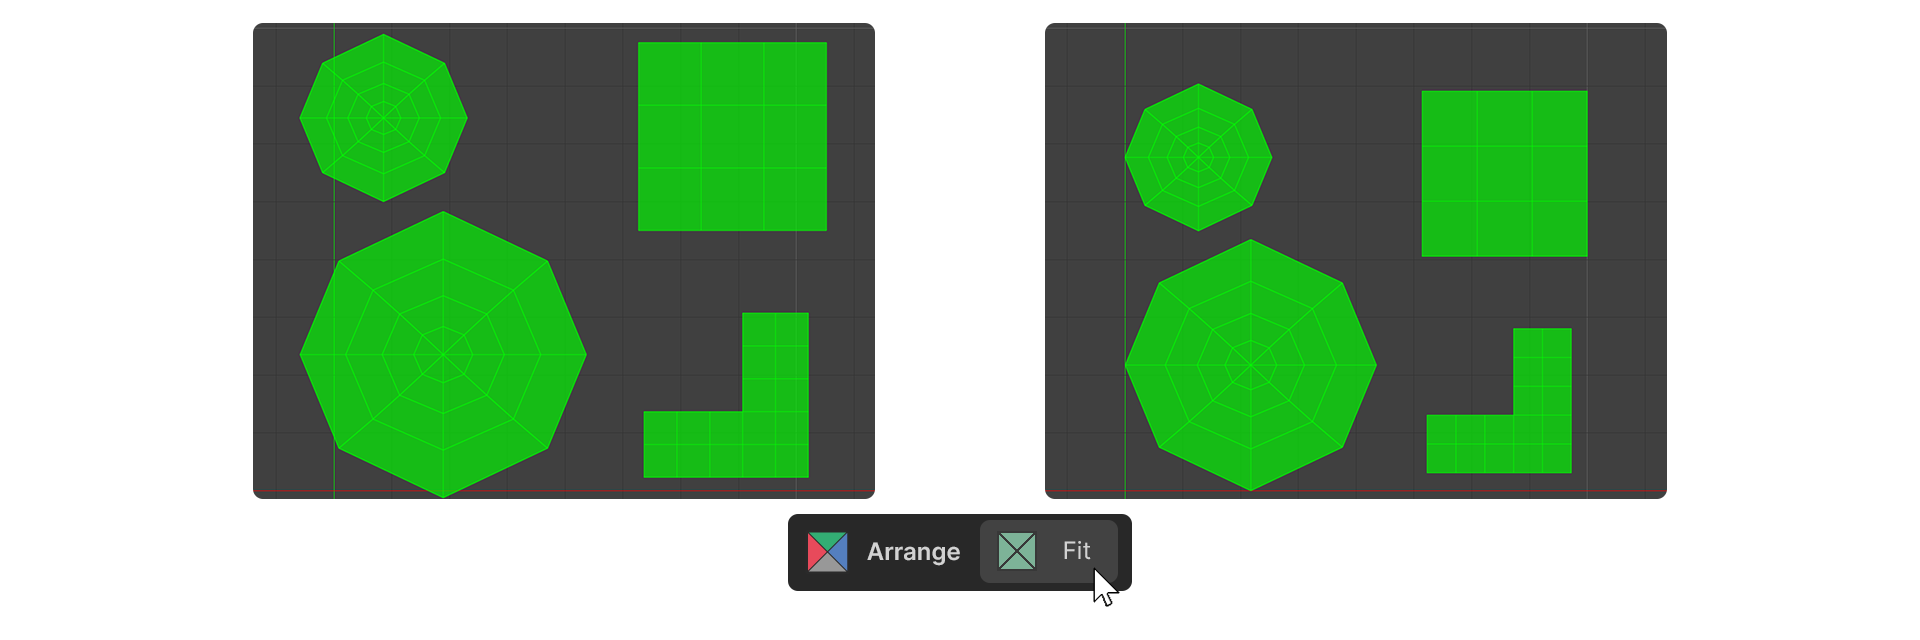
Fit
Fit places already arranged UVs tightly in the texture space.
Misc
![]()
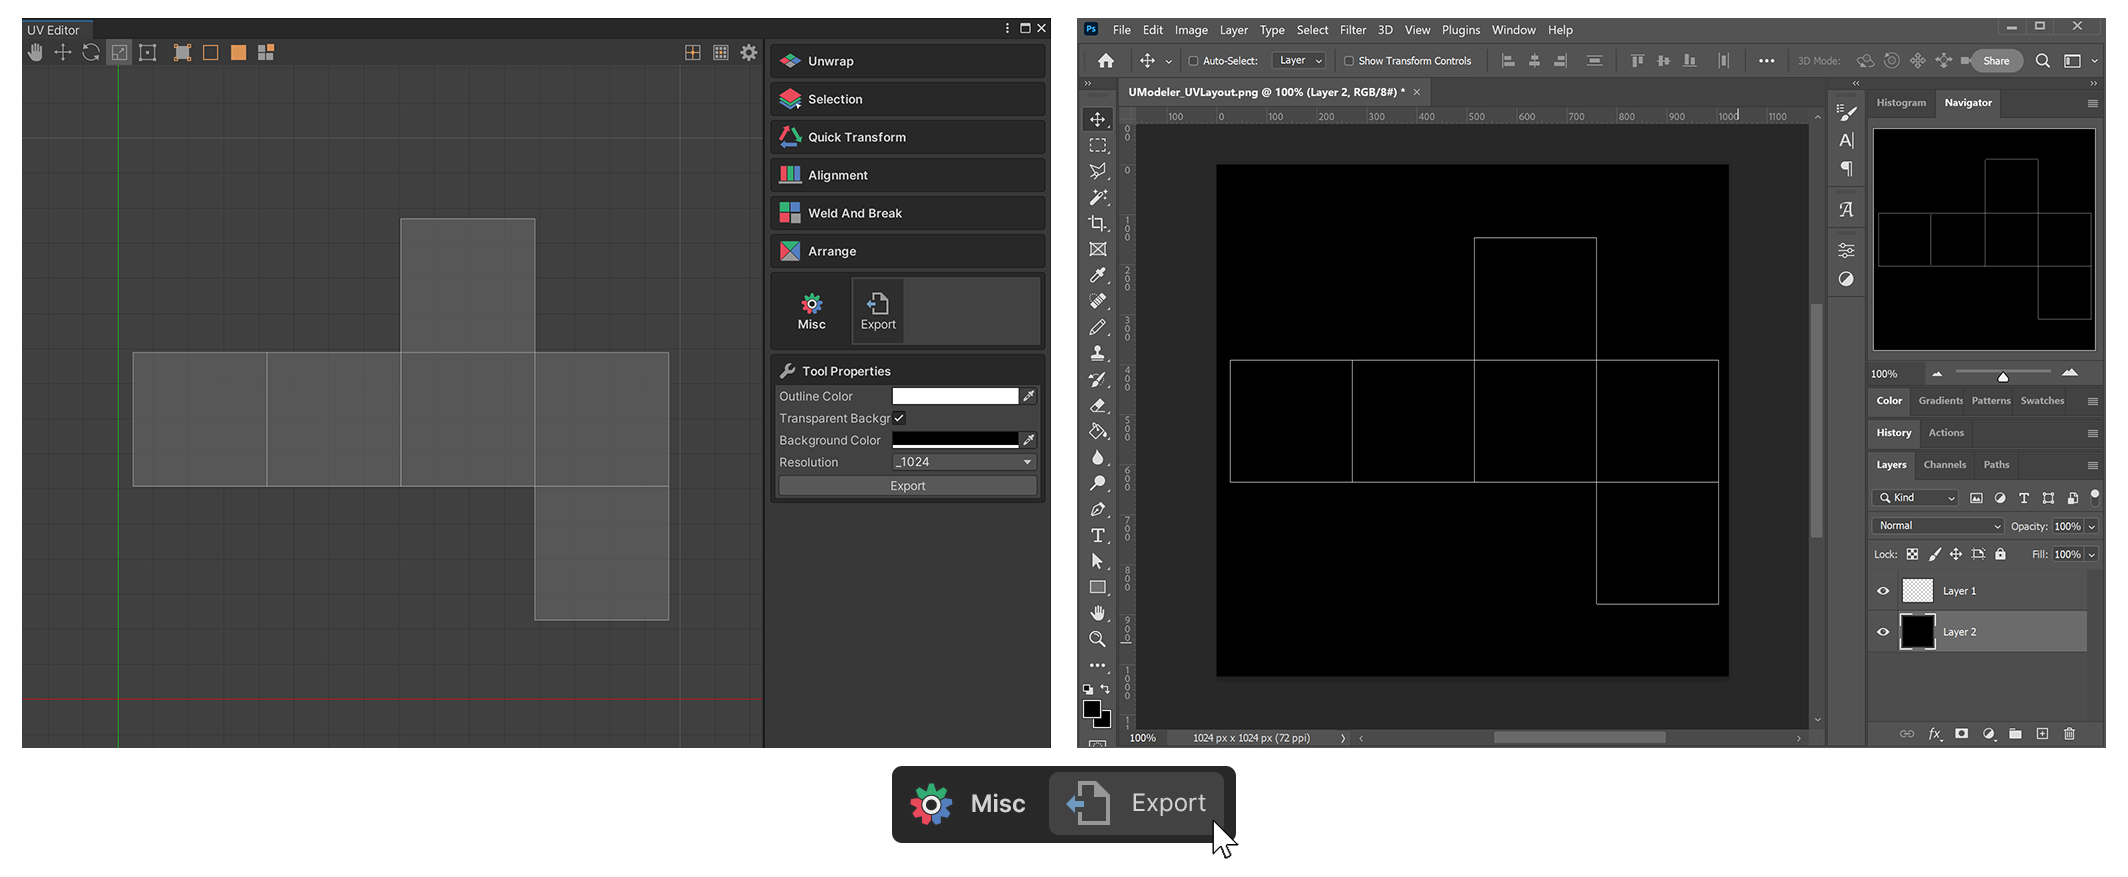
Export
The export tool under misc exports the UV layout as an image file.
The exported image can be used as a guideline for image editing in software like Photoshop or Paint.