Apply Checkpoint, LoRA, VAE
To apply Checkpoint, LoRA, and VAE, you must first download the relevant files. **While it is possible to generate textures using the Stable Diffusion web UI alone, these model files must be downloaded and applied for optimal quality.
The guide below details how to download and apply the models.
Download the models
Civitai
Civitai is a Stable Diffusion AI model sharing platform. You can search for multiple models, read reviews, and download them.
Hugging Face
Github
Apply Model
Apply Checkpoint
To use the downloaded Checkpoint file in the Stable Diffusion web UI and AI texturing in UModeler X, you need to place the file in a specific path and apply it.
- Copy the downloaded Checkpoint file to the
stable-diffusion-webui/models/Stable-diffusionfolder.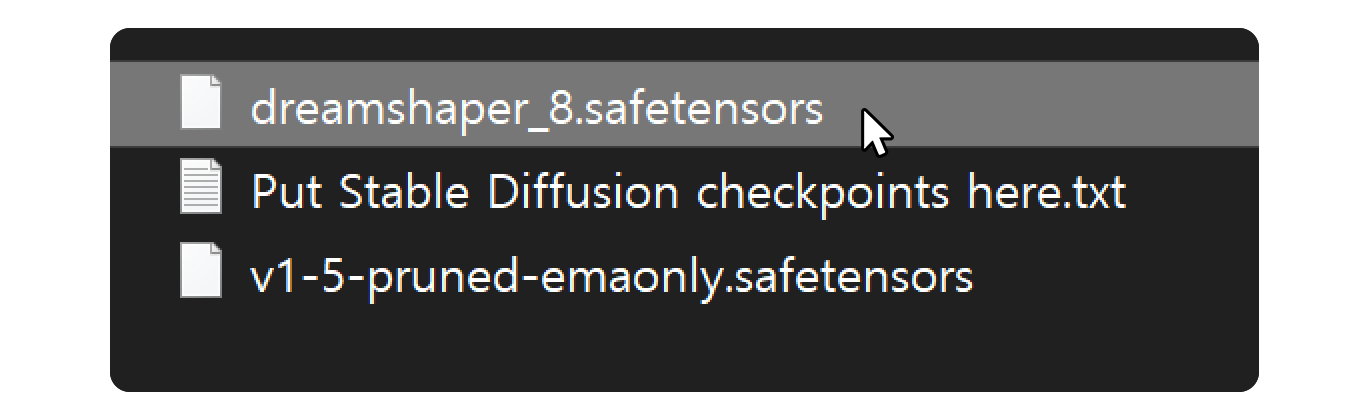
- In the Stable Diffusion web UI, refresh the list by
clickingthe button next to the Stable Diffusion checkpoint area in the top left corner.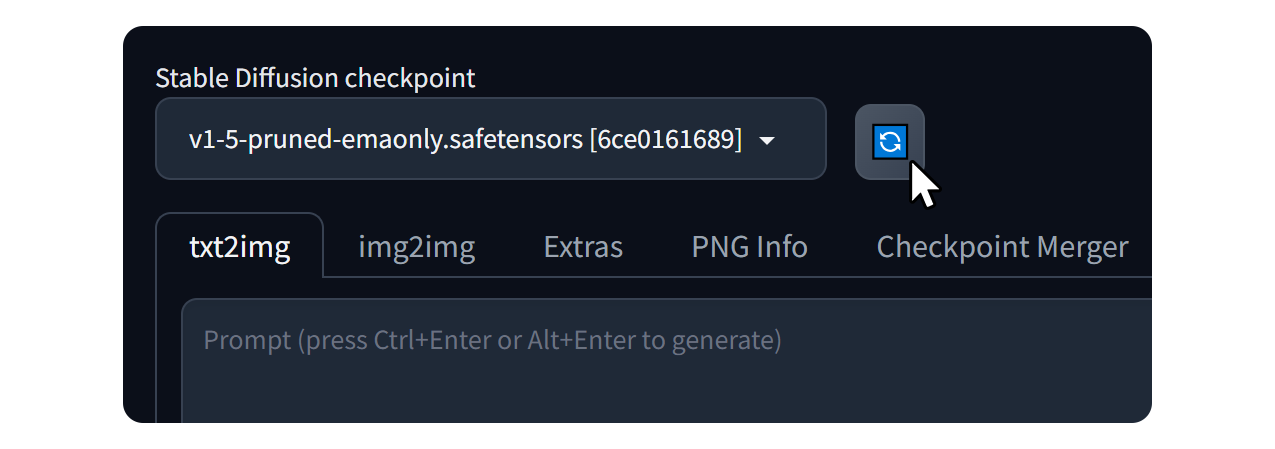
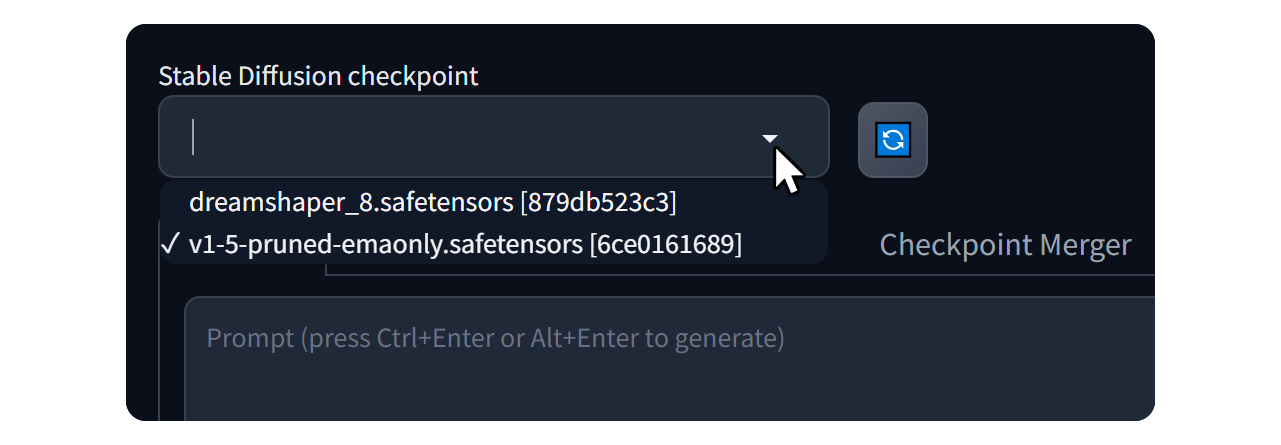
- After refreshing, you can see the newly added Checkpoint in the drop-down menu.
Apply LoRA
The LoRa file must also be placed in a specific path to be applied.
- copy the downloaded LoRa file to the
stable-diffusion-webui/models/Lorafolder.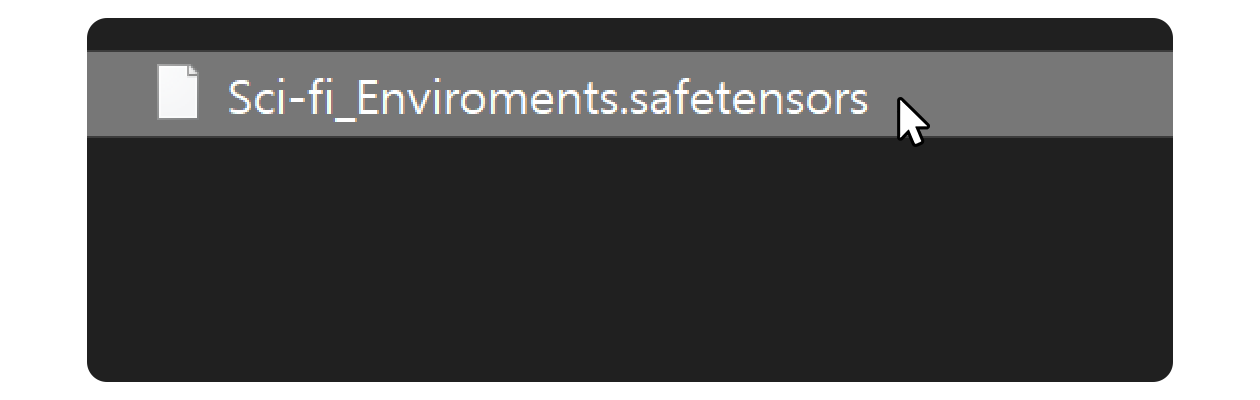
- In the Stable Diffusion web UI, under the Generate button,
clickthe Show/Hide extra networks button.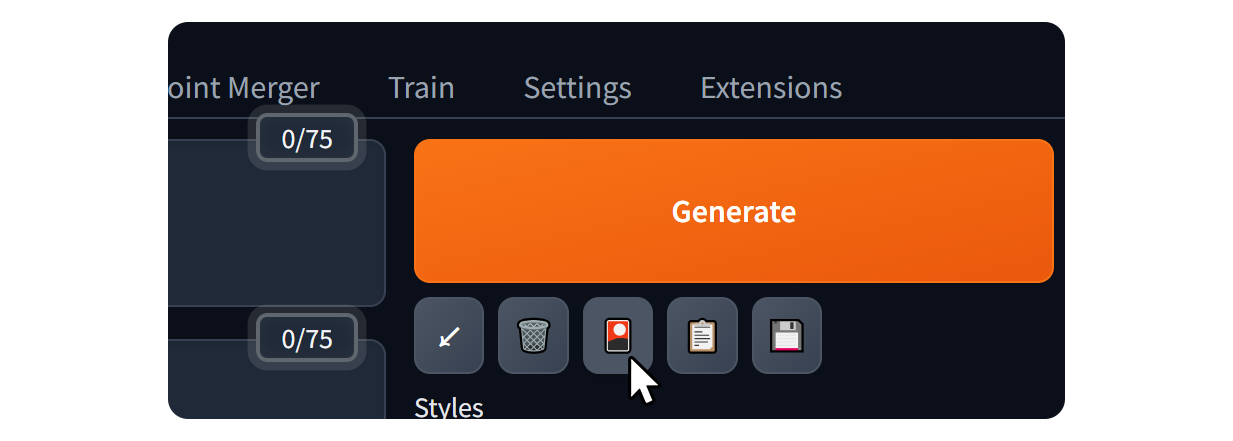
Clickon the Lora tab in the area shown below.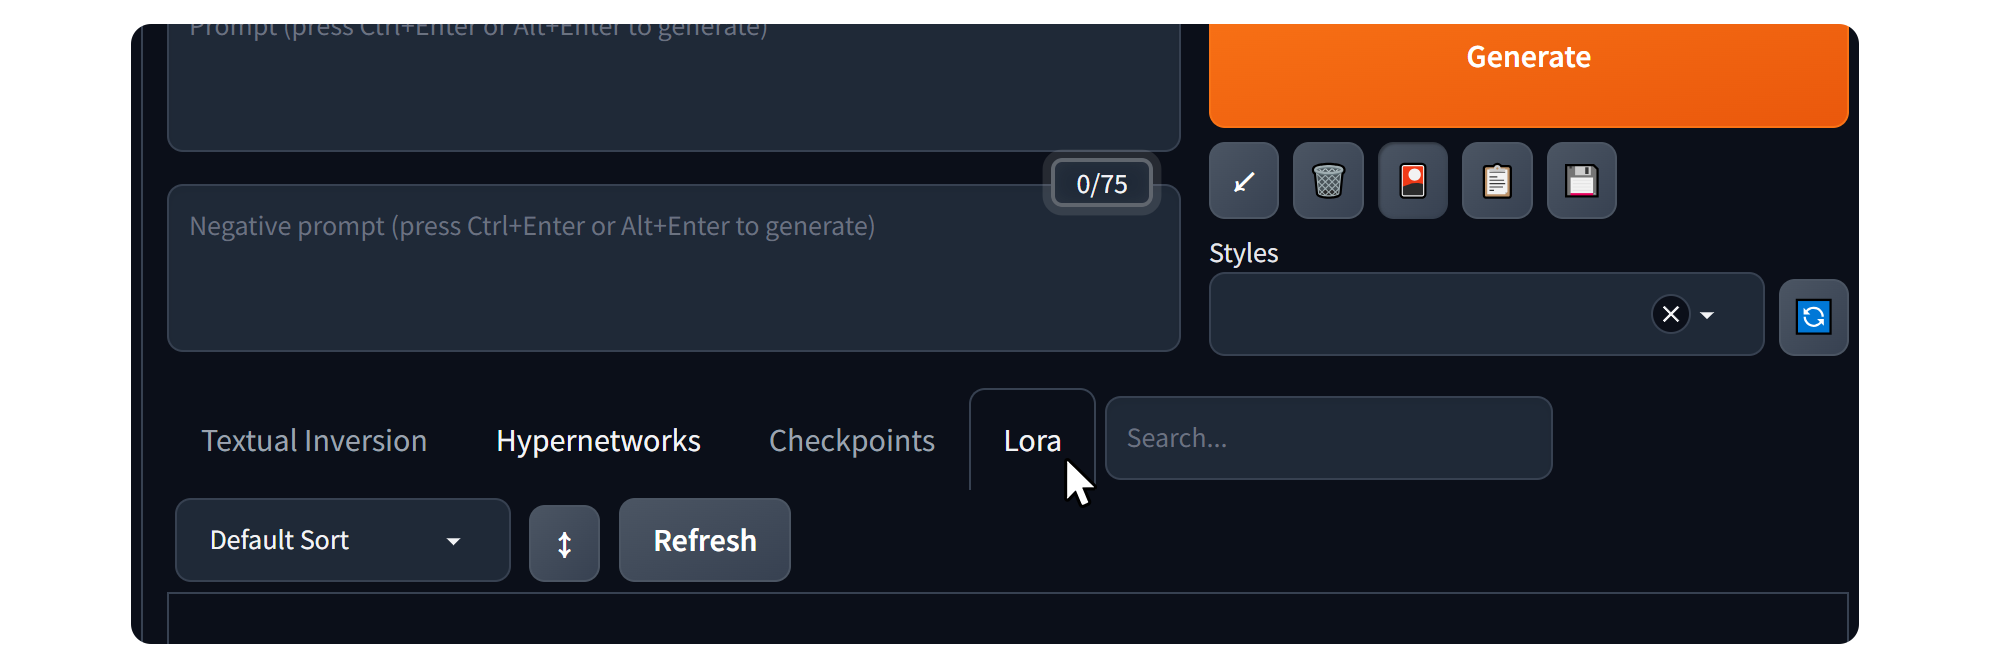 4.
4.Clickthe Refresh button on the right side to display the LoRAs you put in the route. 5.When you
 clickon that LoRA, it will be entered into the prompt and the application will be complete.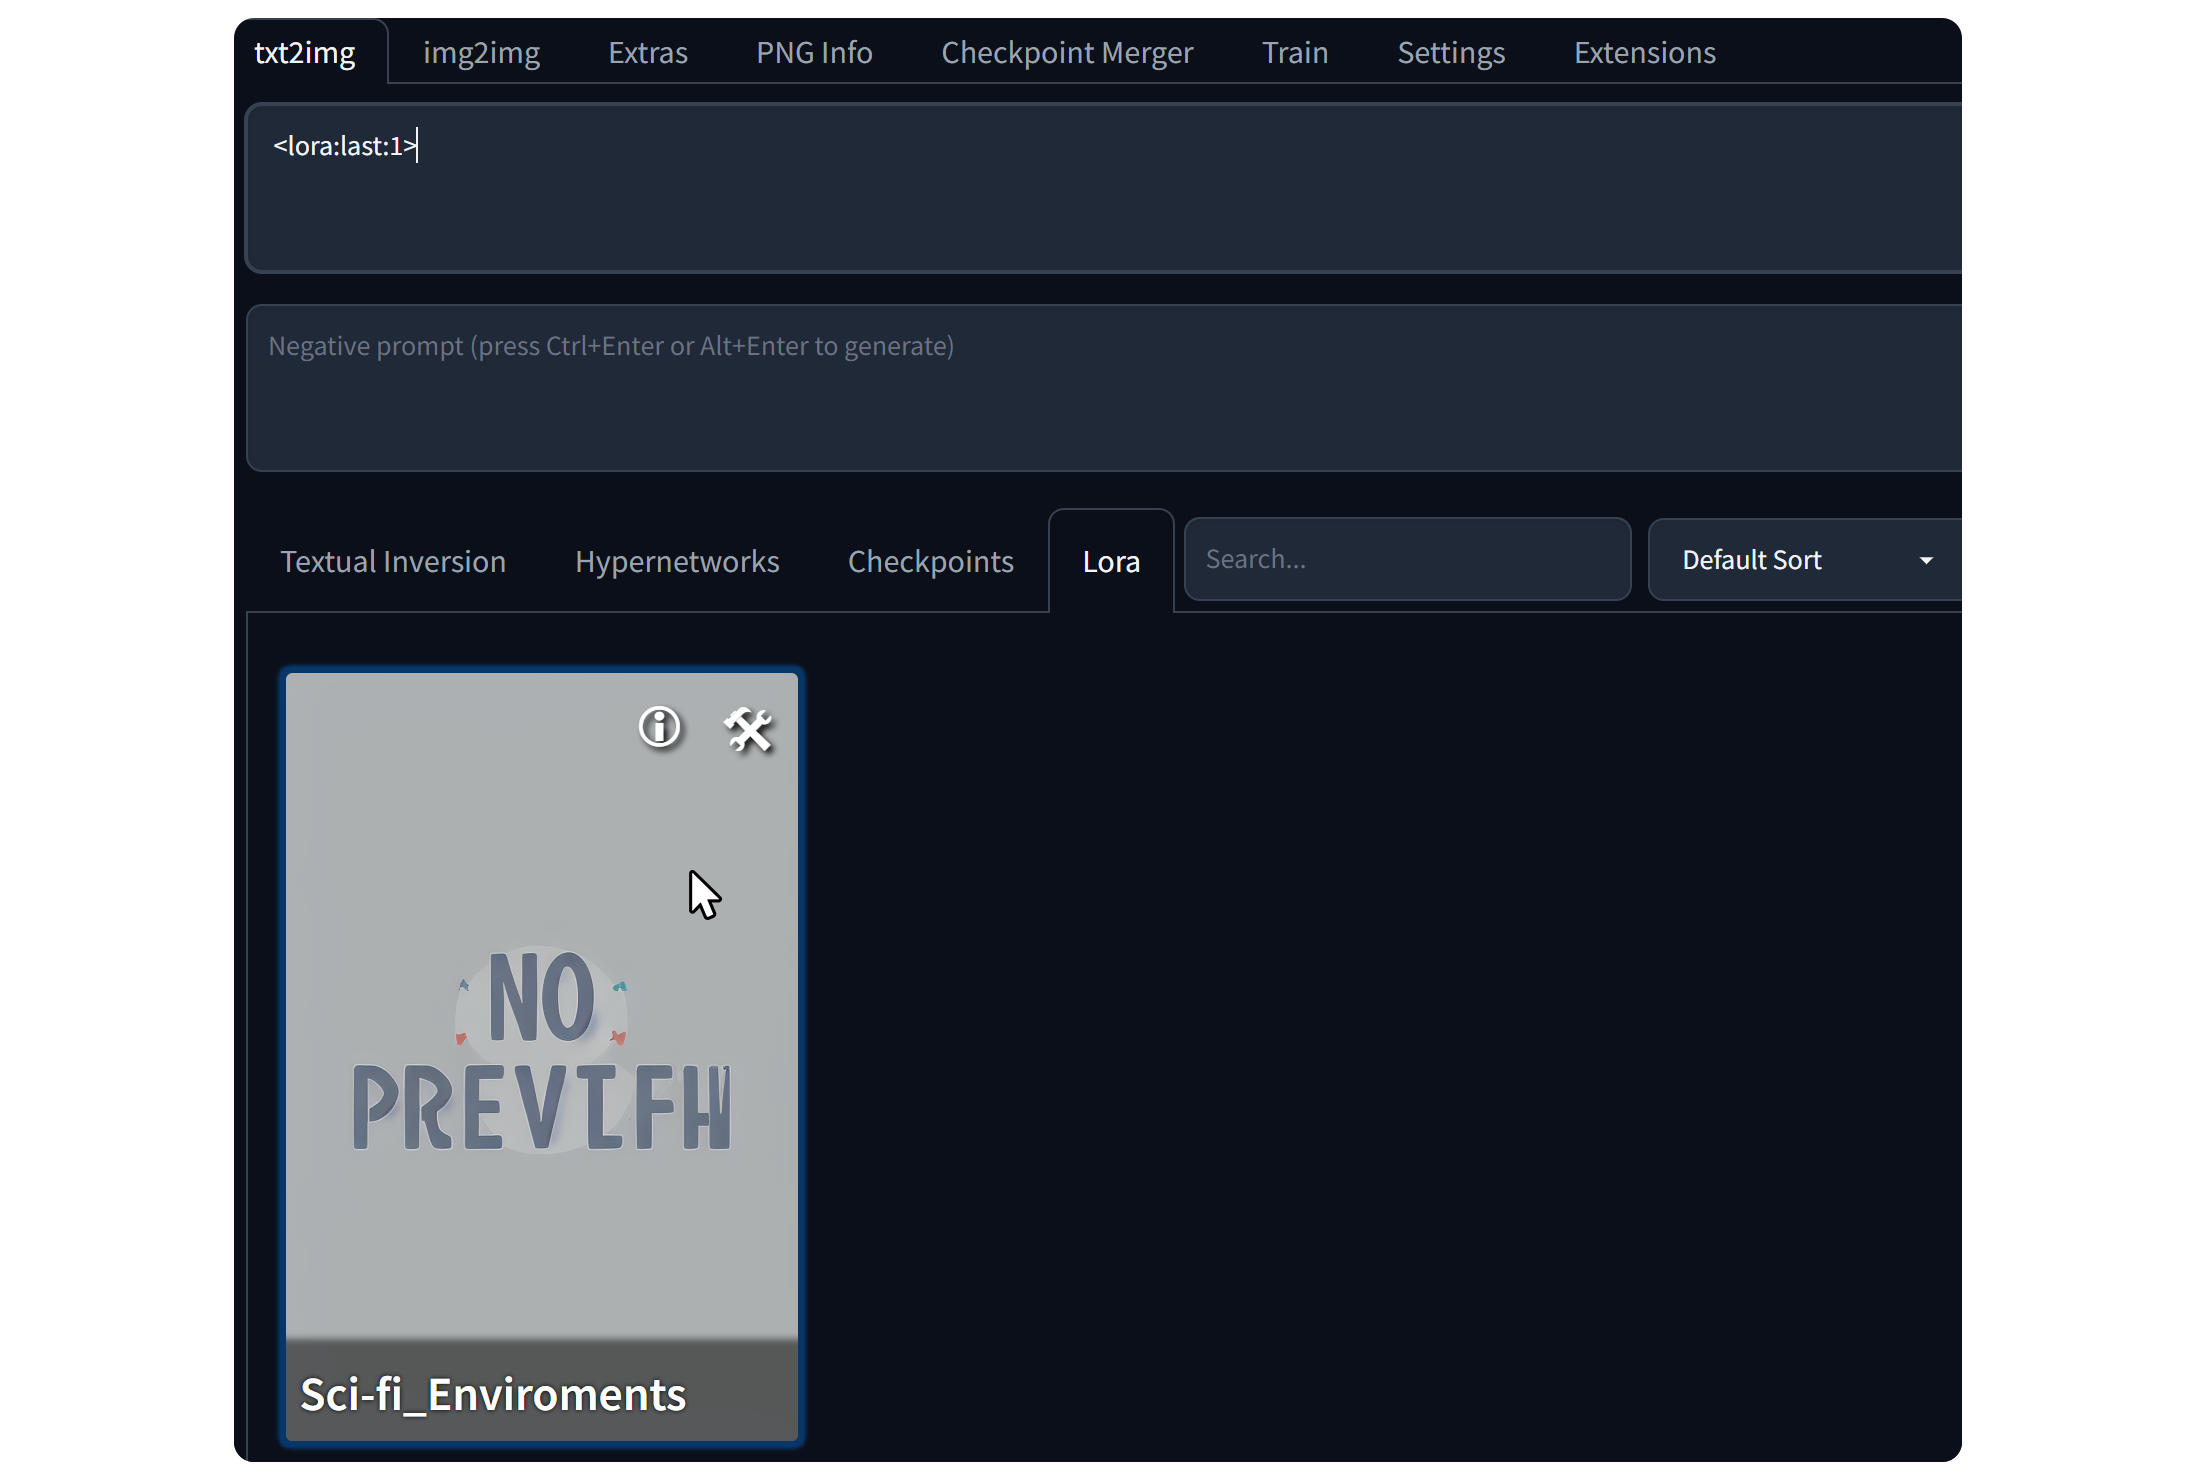
Applying a VAE
You can also apply a VAE file by placing it in a specific path, but the process is a little different.
- copy the downloaded VAE file to the
stable-diffusion-webui/models/VAEfolder.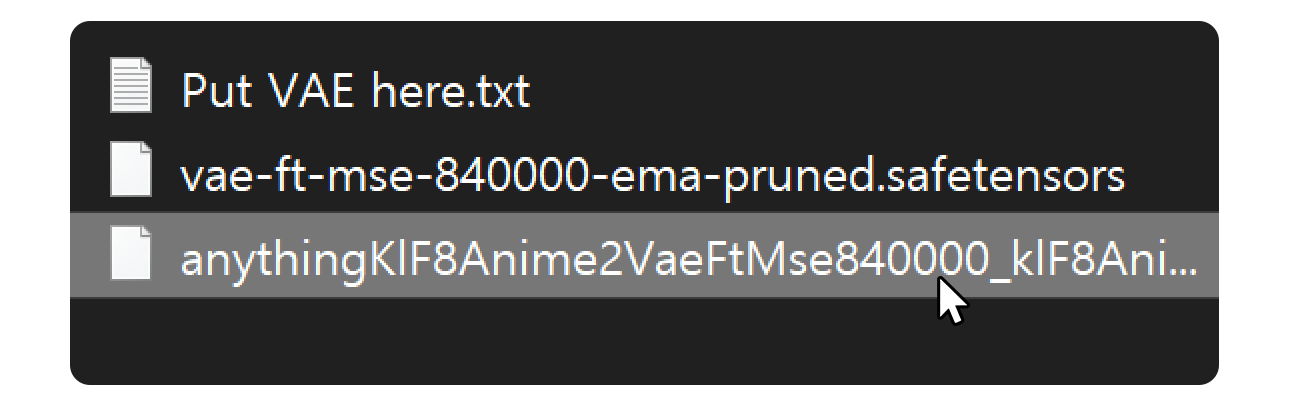
- In the Stable Diffusion web UI,
clickthe Settings tab.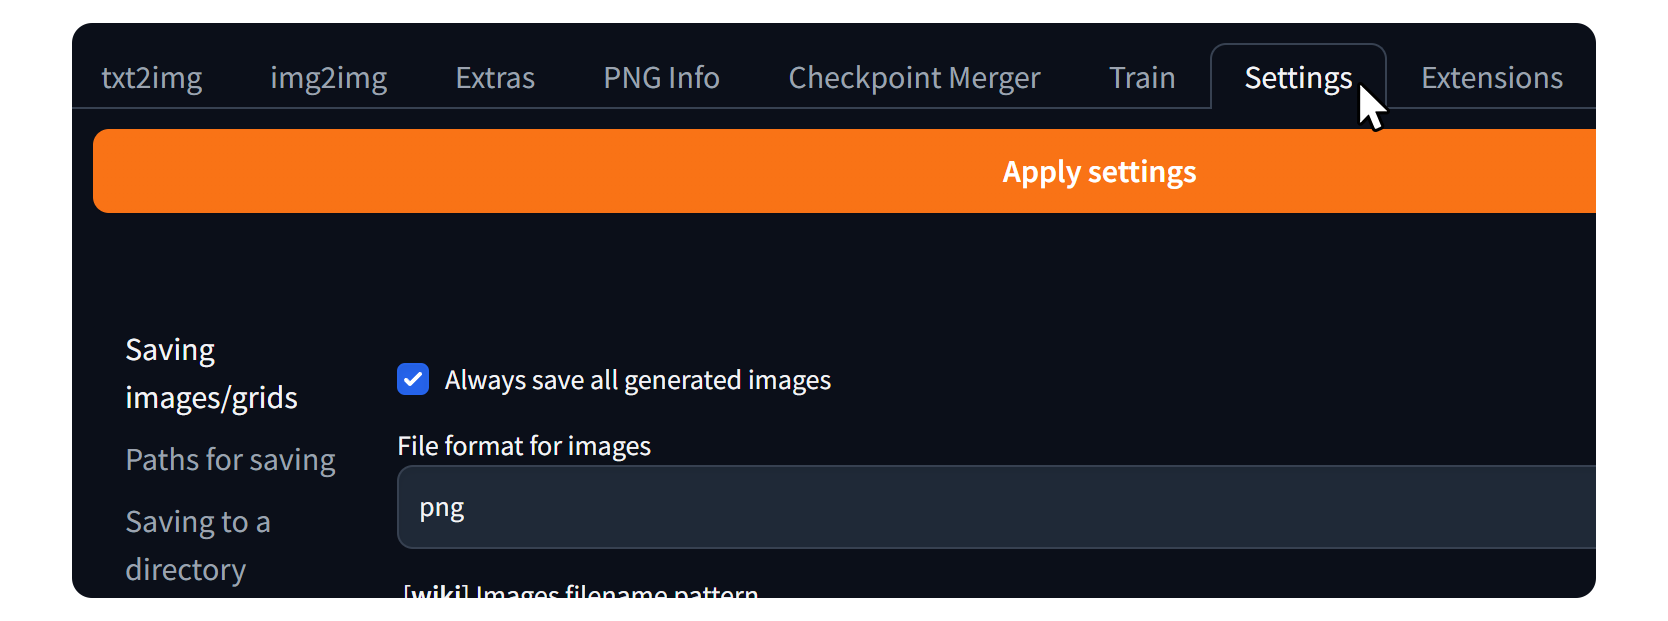
Clickon Stable Diffusion, thenclickon the Refresh button in the SD VAE.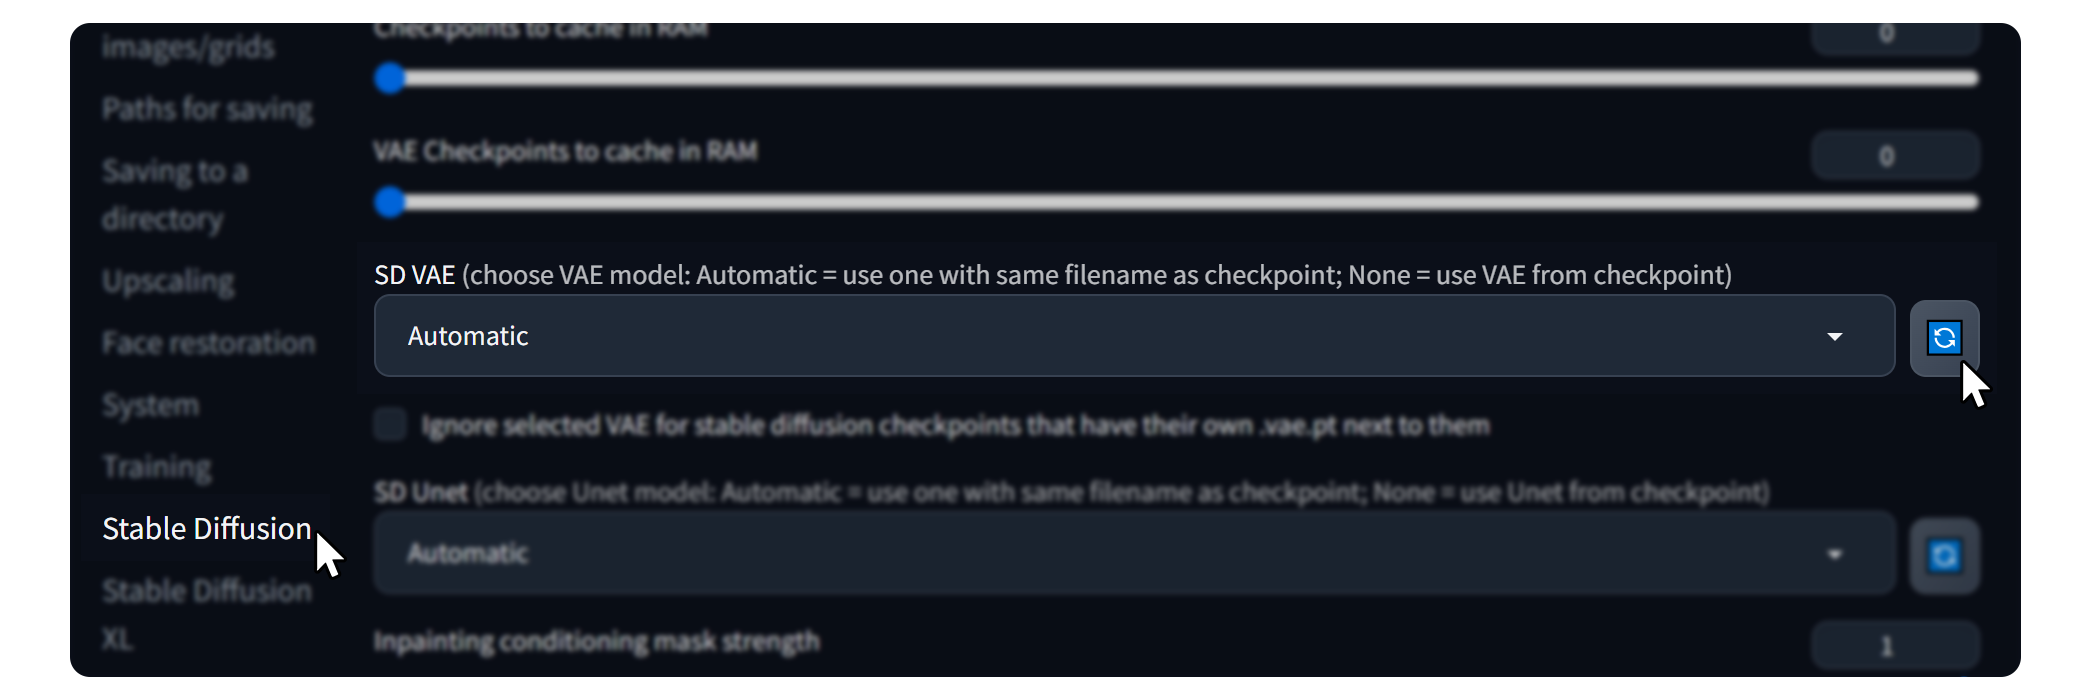
- After refreshing, you will see the newly added VAE in the drop-down menu.
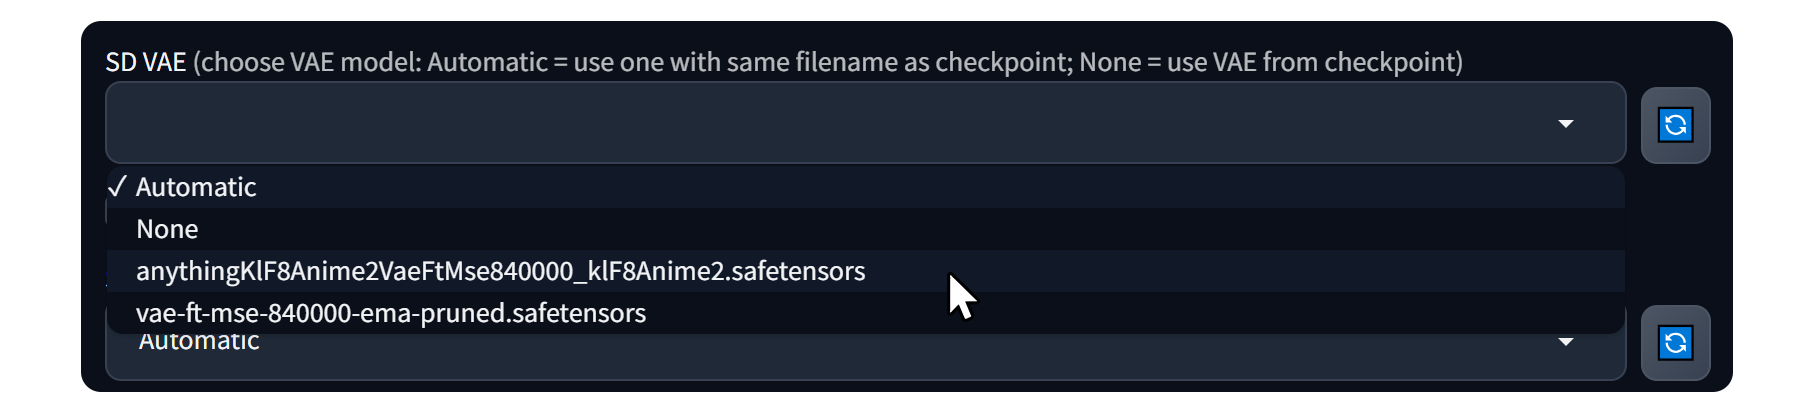
- After selecting the desired VAE,
clickthe Apply settings button to apply it.
.ckpt and .safetensors
The models involved in Stable Diffusion are distributed in two formats: .ckpt and .safetensors.
Given the differences and issues with each format, we recommend downloading in the .safetensors format whenever possible. Below we detail the differences between these two formats and the potential issues with the .ckpt format.
.ckpt format
The .ckpt format is used to store intermediate training states of a deep learning model (that's why it's called a Checkpoint Checkpoint). This format makes it convenient to re-experiment or tune the model later.
However, the .ckpt format uses Python's pickle pickle module to store data, which can have security issues.
pickle module
The pickle module helps Python save data to a file in binary format ("serialization") and retrieve it back ("deserialization").
It's a bit like canning food and taking it out later, and it ensures that you don't lose important data when you quit your program. However, you need to be careful when deserializing data from untrusted sources due to security concerns.
With a maliciously written .ckpt file, arbitrary code can be executed when opening (un-pickling) the file, putting your PC at risk of attack.
Below are some of the official documentation warnings for the pickle module.
The pickle module is insecure.
The pickle module is insecure. Unpickle only trusted data.
It is possible to construct malicious pickle data that executes arbitrary code when unpickled. Never unpickle data that may have come from an untrusted source or may have been tampered with.
.safetensors format
The .safetensors format is a new file format that addresses security vulnerabilities in existing .ckpt files while enabling faster model loading.
We recommend using the .safetensors format and most newer models are now distributed in this format.