Git Installation
Git is an essential distributed version control system for software development. As part of the installation process for the Stable Diffusion web UI, it is necessary to use Git Clone, which requires the installation of Git.
- The git clone command is used to copy project repository files from the web to your computer.
- This document describes the process of installing Git based on Windows.
Download the Git installation file
go to the Git official download page. https://git-scm.com/downloads
select the desired operating system. Here we will select Windows.
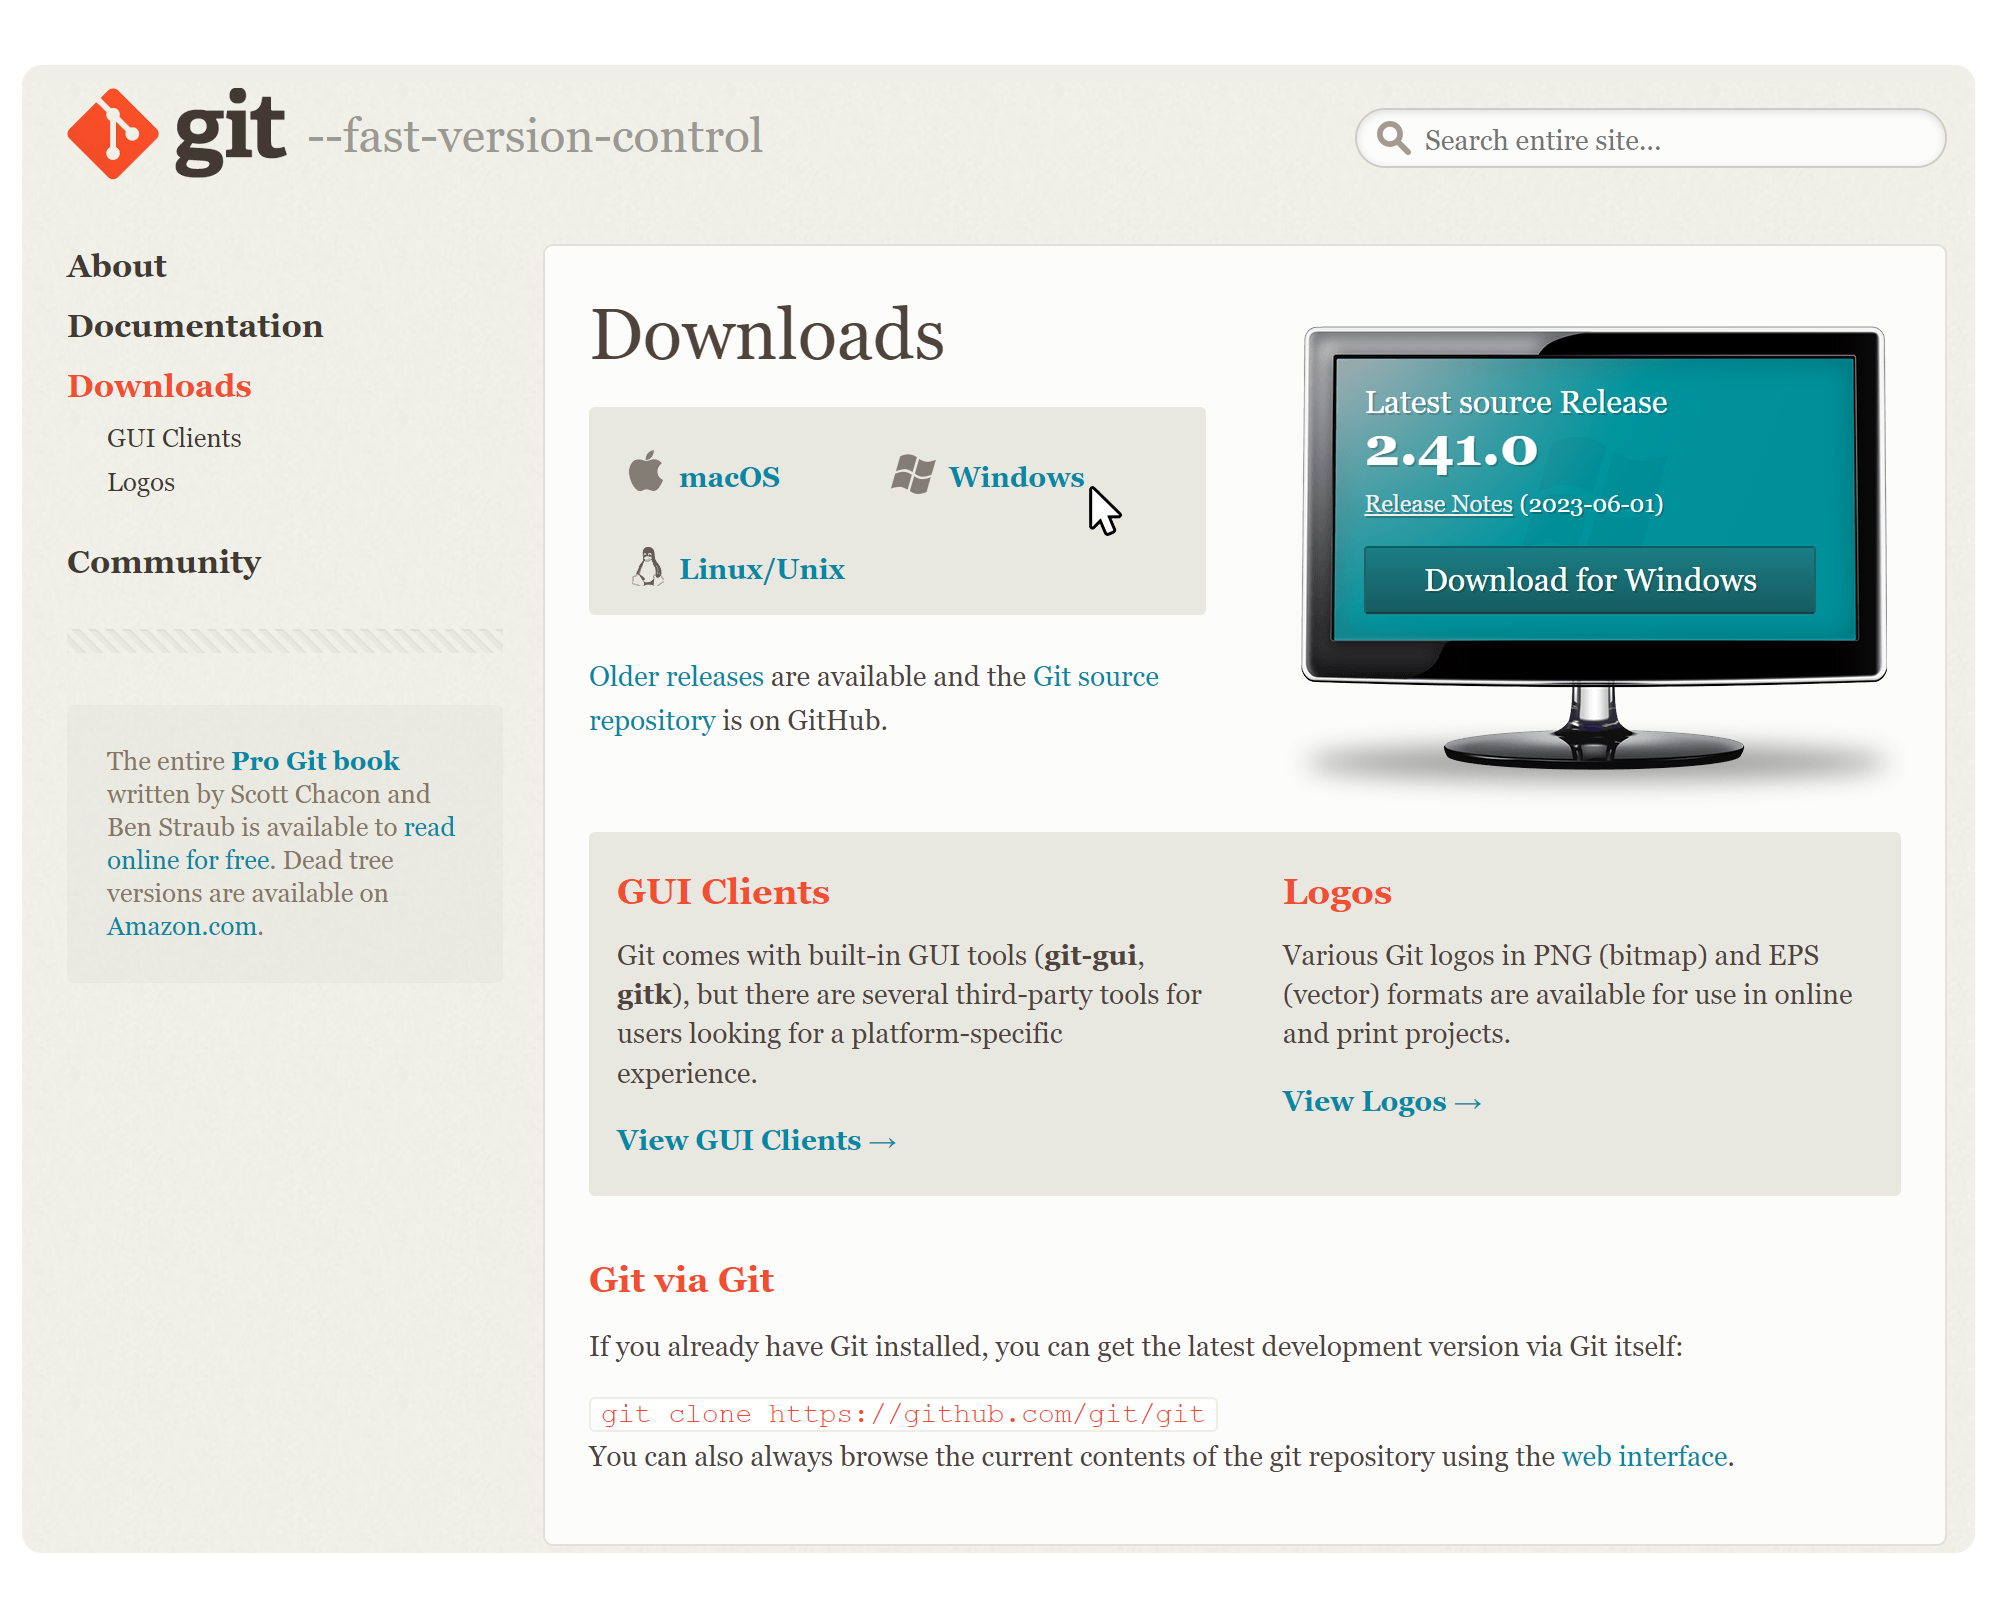
Click on the Click here to download' part to download the Git installation file.
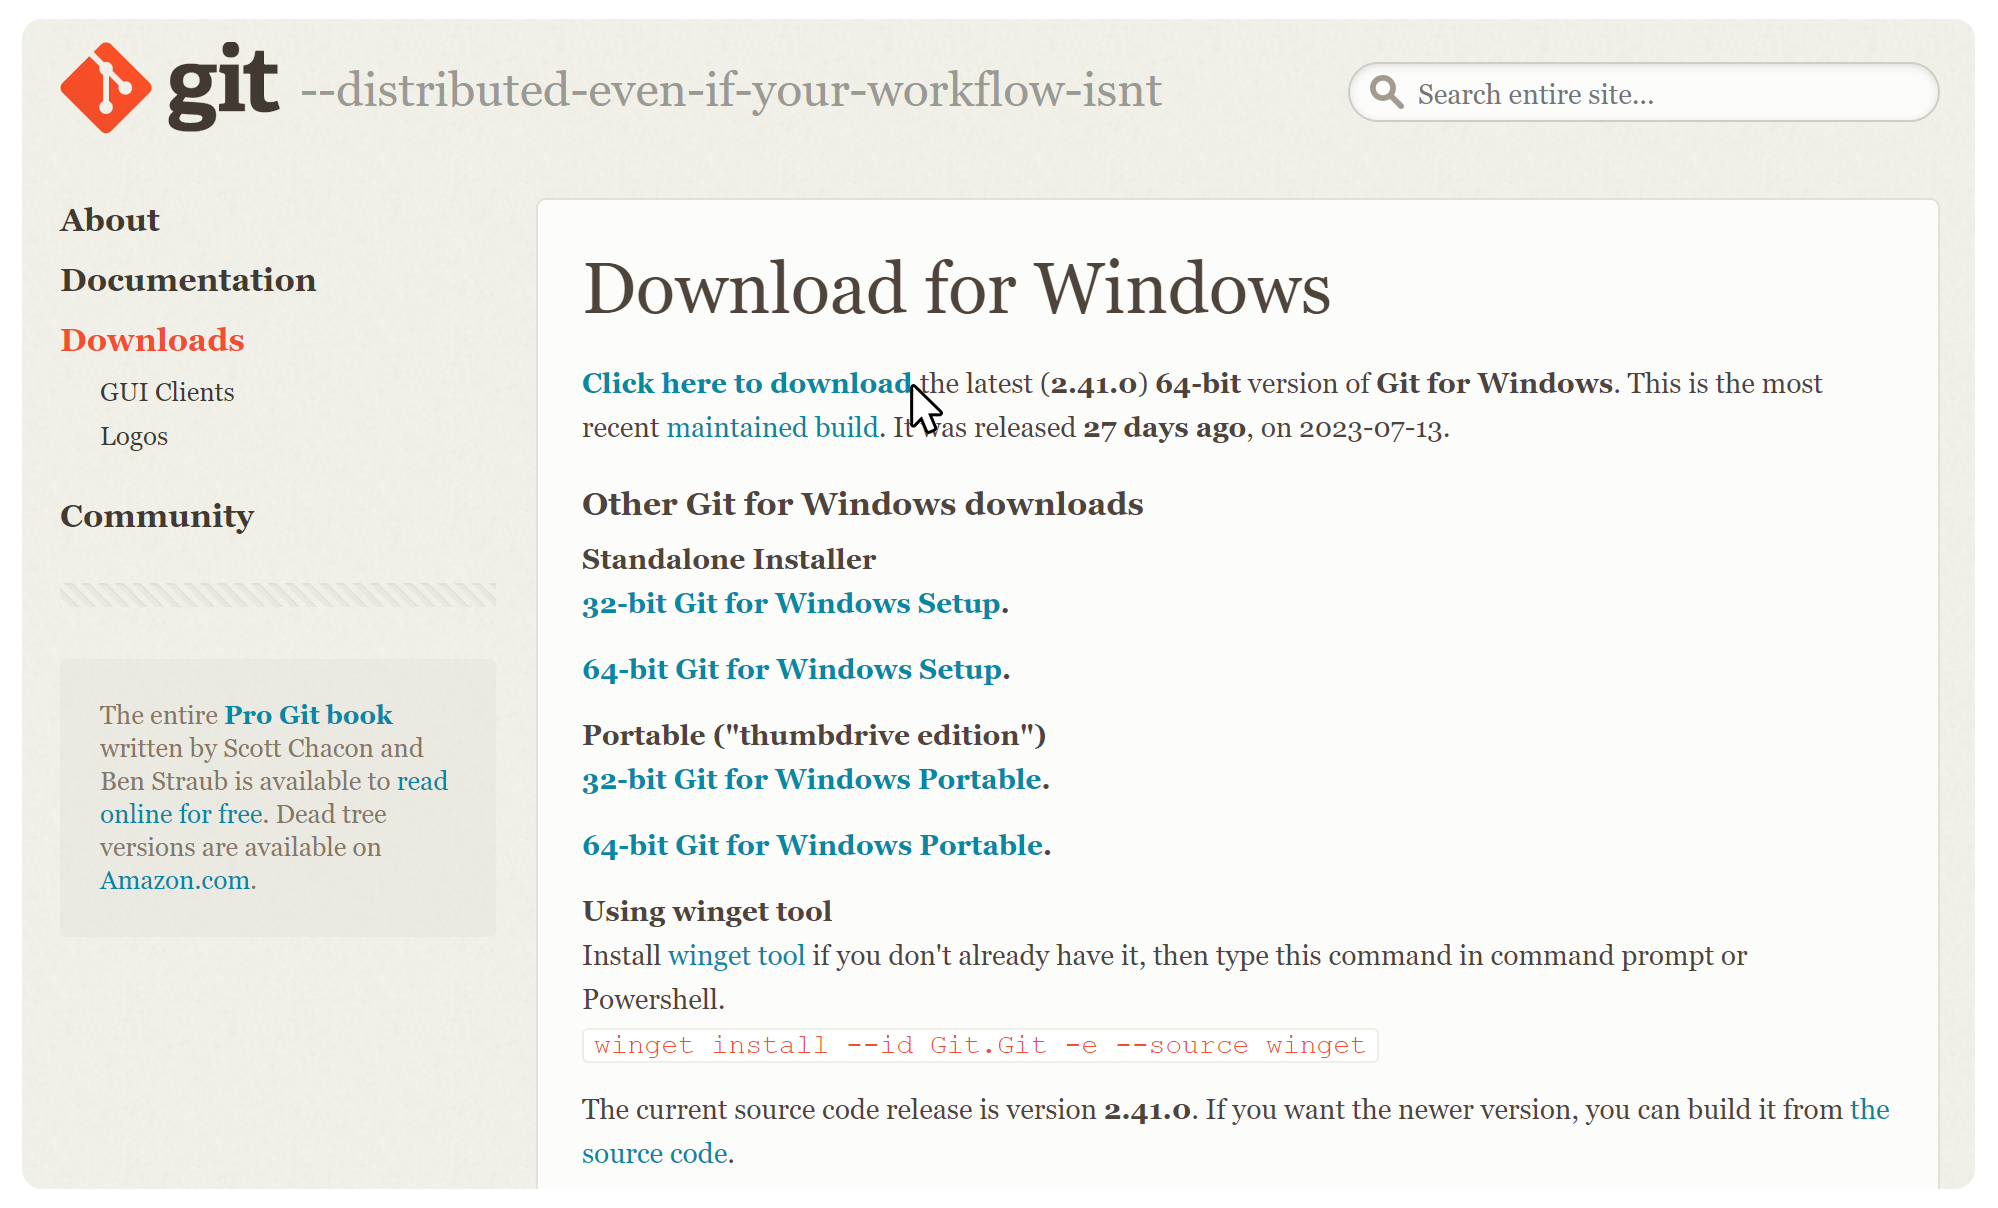
- If you want to install a specific version of Git, or choose a version that matches your computer's architecture (32-bit or 64-bit), scroll down on the webpage and click on the desired option: '32-bit Git for Windows Setup' or '64-bit Git for Windows Setup'.
Typically, since most computers currently support 64-bit, you should select '64-bit Git for Windows Setup'.
Now, you can install Git by running the downloaded installation file.
Git Installation
When installing Git on Windows, you can proceed with the default installation settings, but some options require manual selection. Please check the installation options below as you proceed with the installation. For other screens, you can simply continue by clicking 'Next' without making any special changes.
Installation Options
- Select Components
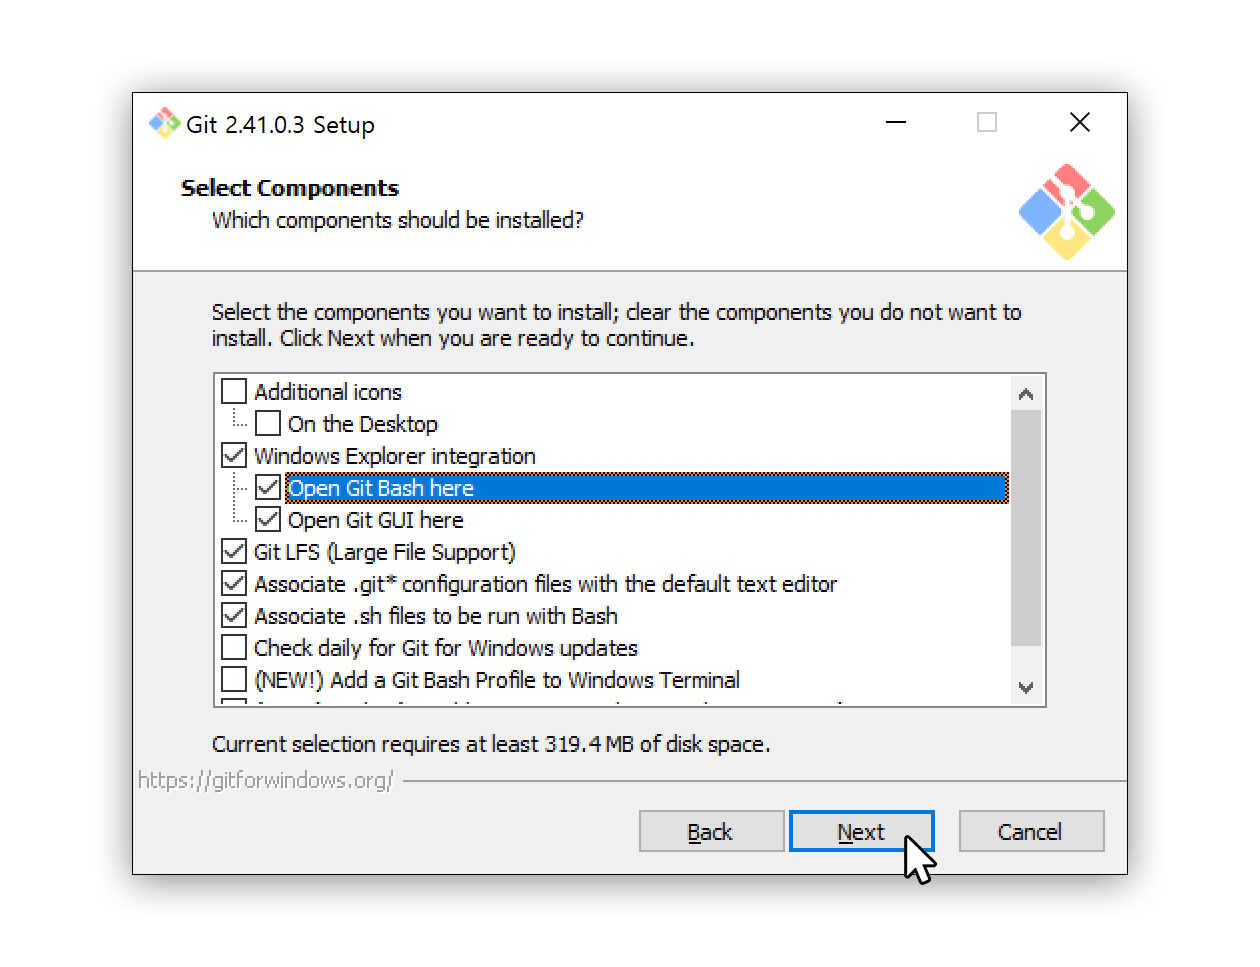
- Windows Explorer integration: Right-click in Explorer to display a shortcut menu for Git commands.
- Git Bash Here: Make sure this is checked. This option will enable the 'Git Bash Here' command on right-click in Explorer.
- Adjusting your PATH environment.
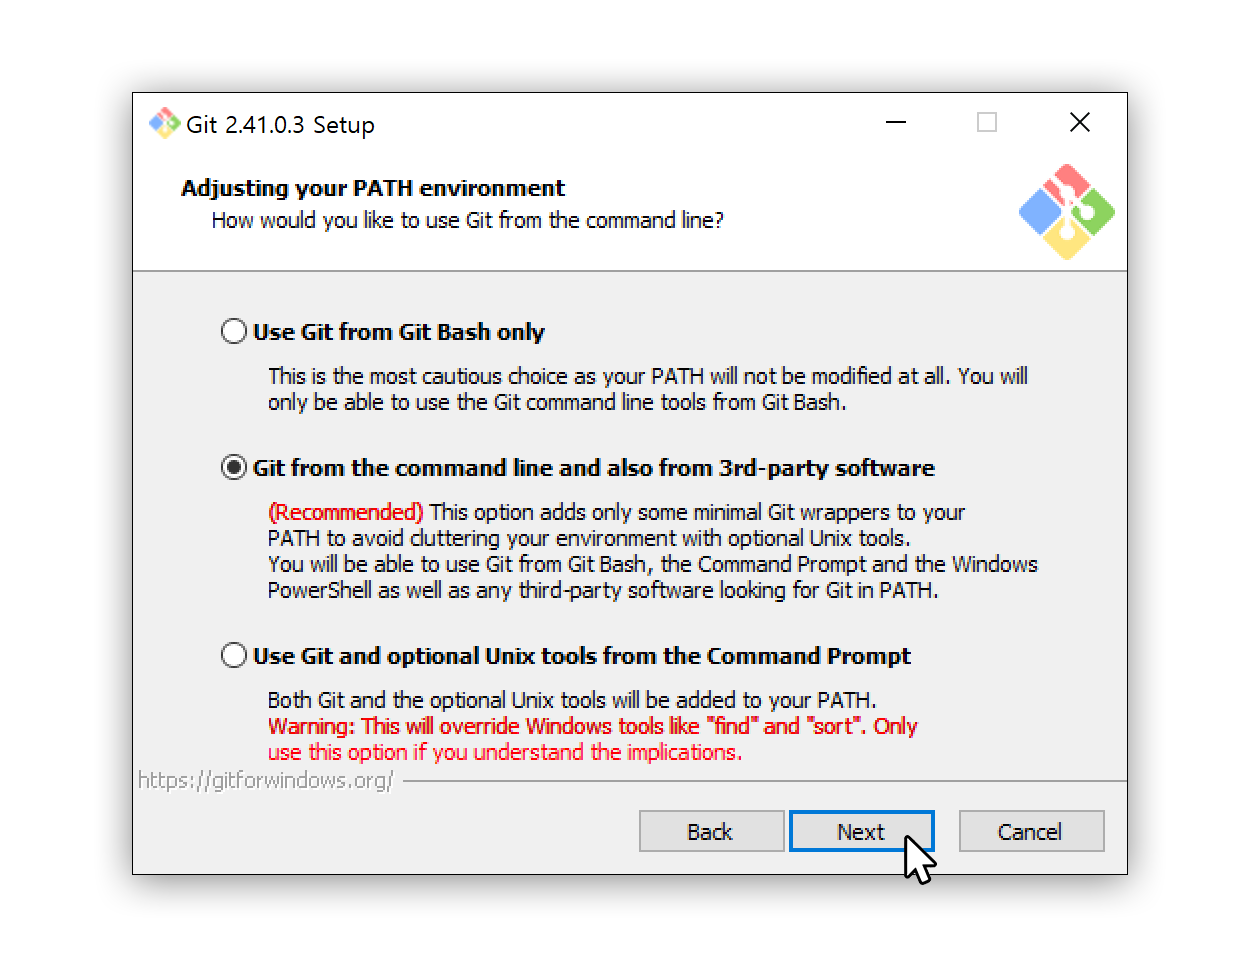
- Git from the command line and also from 3rd-party software: This option adds Git to the PATH environment variable, allowing Git commands to be used in the command prompt or other 3rd-party software.
Check Git installation
To verify that Git has been installed correctly, you should follow the steps below. You can check using either of the two methods provided below, depending on your preference.
Using Git Bash
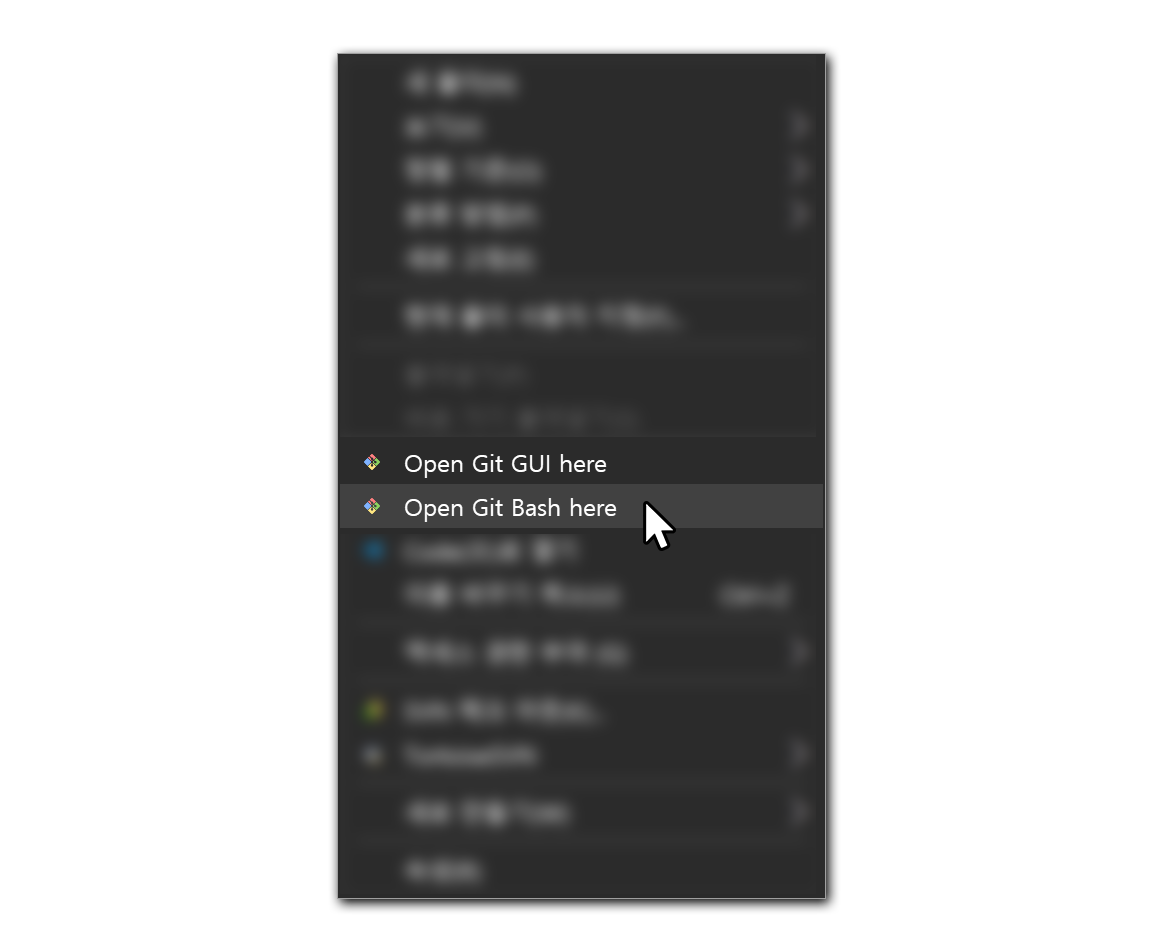
Right-clickon your desktop or file explorer at a location of your choice.- select 'Open git bash here' from the dropdown menu that appears.
- In the newly opened Git Bash window, enter the command below.
git --version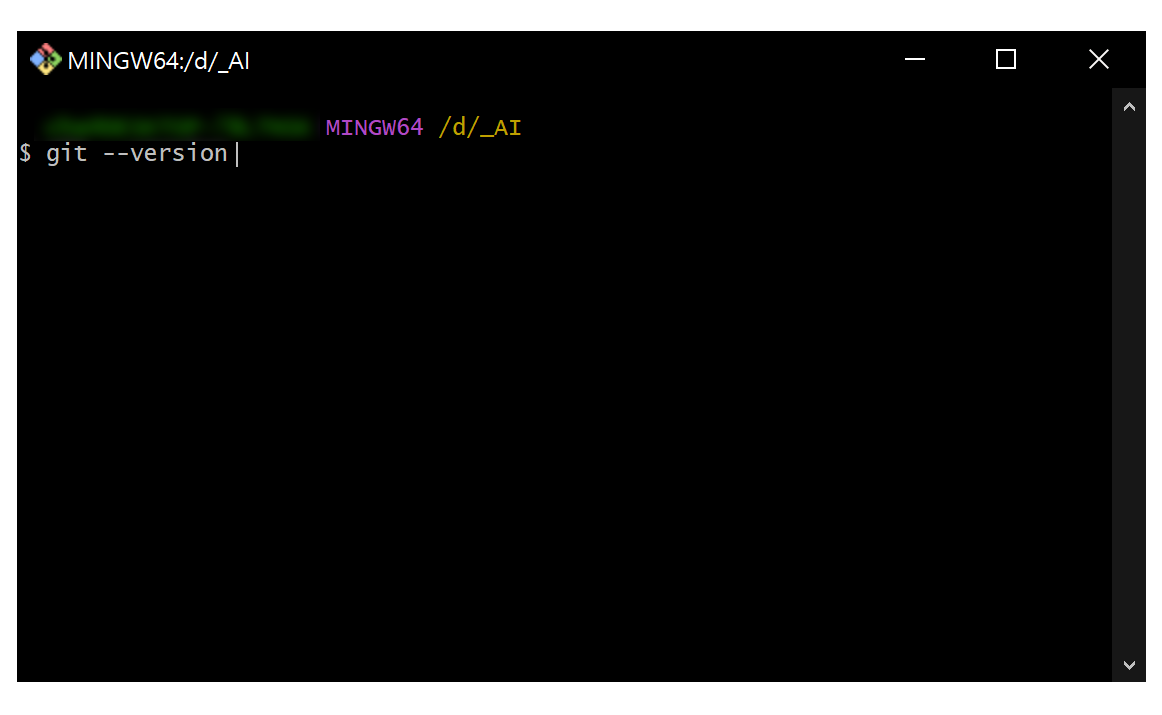
- Press
Enterand if the screen displays the correct version information: 'git version x.x.x', the installation of Git has been successfully completed.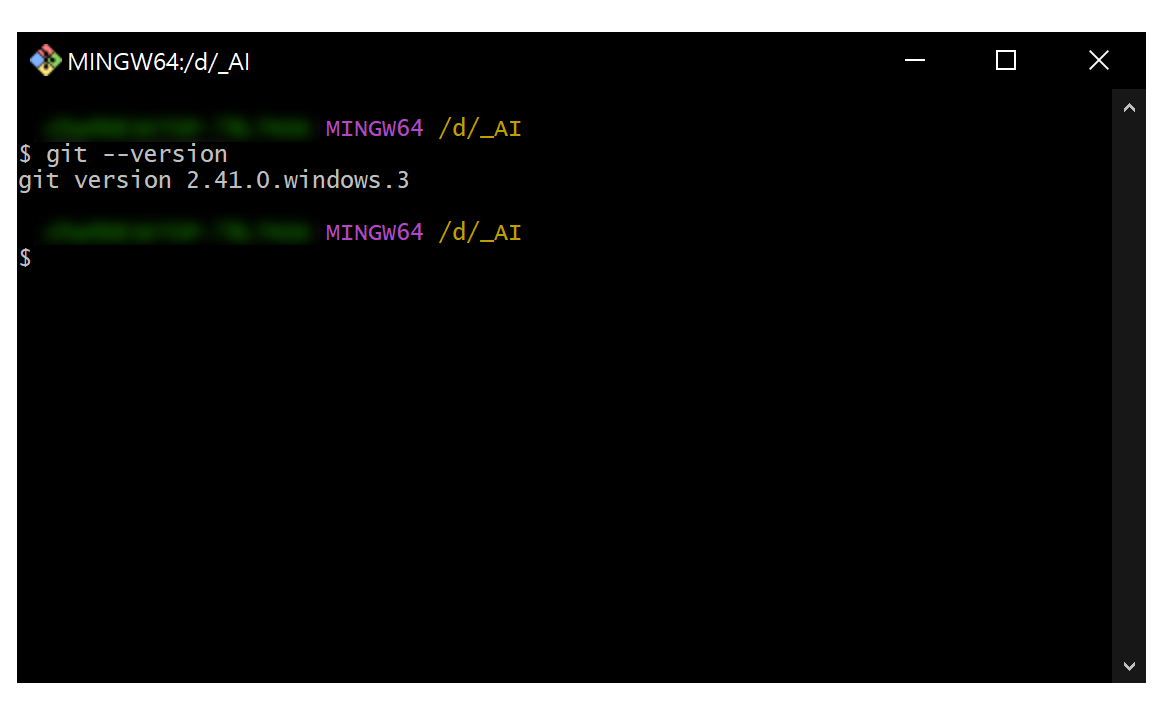
Checking with PowerShell
Shift+Right-clickon the desktop or in a file explorer of your choice.- select 'Open PowerShell window here' from the drop-down menu.
- In the newly opened PowerShell window, type
git --versionand pressEnter. - If the screen displays the version information 'git version x.x.x', the Git installation completed successfully.
If no Git-related information appears at all, there may have been an issue during the installation process. In this case, you should review the installation steps or consider reinstalling Git from the beginning.